Chicken Pot Pie
Homemade recipes you'll love making.
Chicken Pot Pie
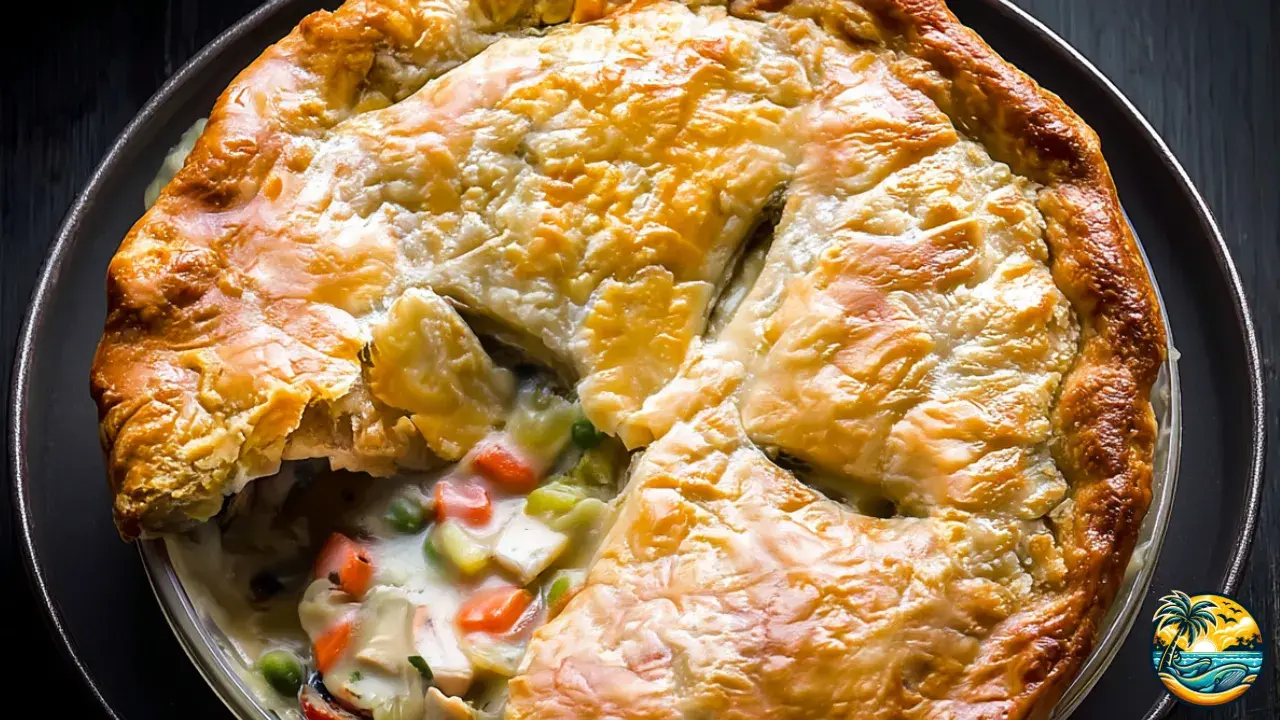
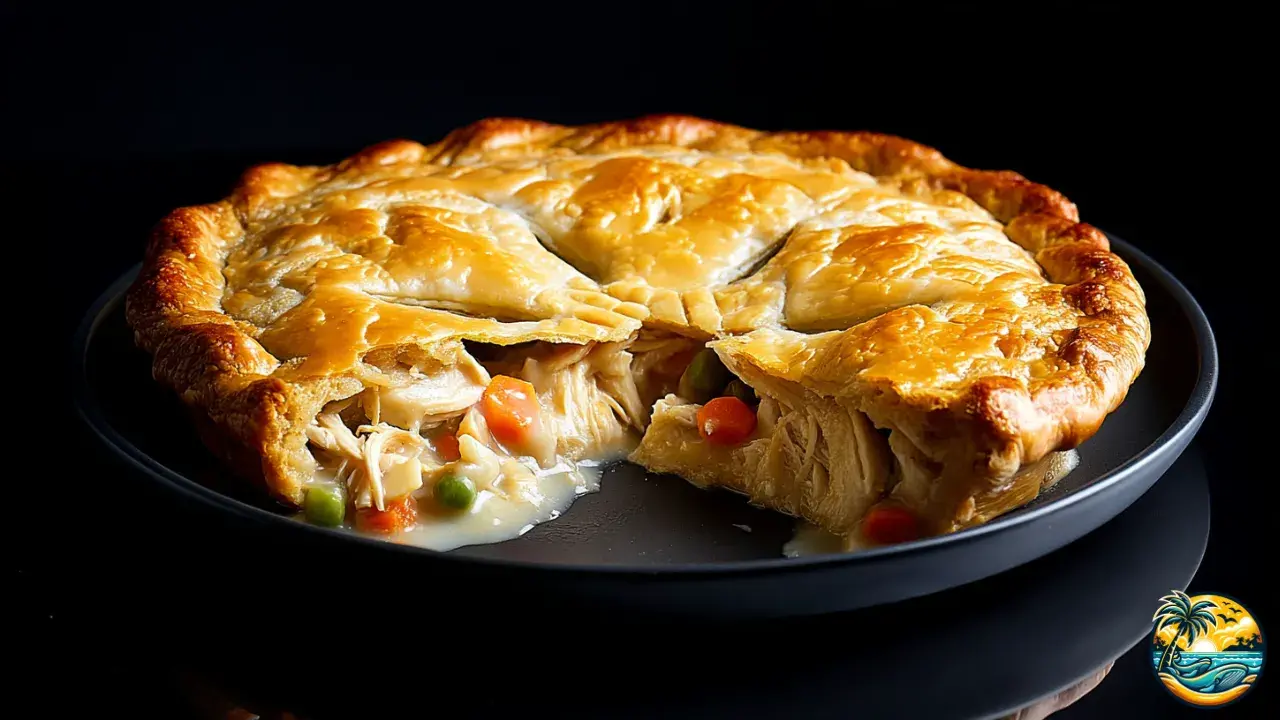
Remember those autumn days when your whole house filled with the smell of something delicious baking in the oven? Well, guess what—Chicken Pot Pie is exactly that warm hug in the form of food: with its golden, flaky crust and creamy filling that instantly takes you back to the comfort of home. Get ready, because with this recipe it’s your turn to make it, and trust me—you’ll end up with a dish so easy and so good, you’ll want to go back for seconds again and again.

Chicken Pot Pie
Servings:6
Prep Time: 25 minutes
Cook Time: 45 minutes
Total Time: 1 hour and 10 minutes
Ingredients
- 1 pound (450 g) chicken breast, cooked and shredded
- 1 cup (240 ml) diced carrots
- 1 cup (240 ml) green peas
- 1/2 cup (120 ml) diced celery
- 1/3 cup (40 g) butter
- 1/3 cup (40 g) all-purpose flour
- 1/2 teaspoon salt
- 1/4 teaspoon black pepper
- 1/4 teaspoon onion powder
- 1/4 teaspoon garlic powder
- 1 3/4 cups (420 ml) chicken broth
- 2/3 cup (160 ml) whole milk
- 2 pie crusts (standard size, 9 inches / 23 cm)
Equipment Needed
- 9-inch (23 cm) pie pan
- Medium saucepan
- Whisk
- Wooden spoon
- Rolling pin (if you’re using homemade crust)
See 5 variations of the recipe at the end.
You might also be interested in:
Did You Know?
Chicken Pot Pie is so popular in the U.S. that frozen, ready-to-bake versions have been sold in grocery stores since the 1950s. Some folks even call it “comfort food in a box”!

Instructions
-
Let’s get started! Preheat your oven to 425 °F (220 °C).
Make sure the rack is in the center of the oven so your pie bakes evenly and the crust browns just right. And hey, don’t waste time—while the oven heats up, get your ingredients and pie pan ready.
-
In a medium saucepan, melt the butter over medium heat.
Once it’s bubbling, add the flour along with the salt, pepper, onion powder, and garlic powder. Stir right away with a whisk or wooden spoon until it forms a thick, smooth paste—this is your “roux.” Do it with care, because this step really matters; it’s what gives body to your filling.
-
Now, slowly pour in the chicken broth and milk.
Do it in a thin stream while whisking nonstop—trust me, you don’t want any lumps here. Keep whisking until the mixture thickens and comes to a gentle boil. At this point, lower the heat and let it cook for 2 more minutes. You’re looking for a creamy sauce, not too runny, not too thick.
-
Chicken time! Add the shredded chicken, carrots, peas, and celery.
Stir it all together so every piece gets coated with that creamy sauce. This is the heart of your Chicken Pot Pie, so go ahead and taste the mix—adjust the salt and pepper if you need to. Then take the pan off the heat.
-
Place one of the pie crusts in your 9-inch (23 cm) pan.
Press it gently so it sticks to the bottom and sides of the pan. Do it firmly enough to shape it, but don’t tear the dough. If you’ve got extra dough hanging over, trim it with a knife. Then pour in the chicken and veggie filling, spreading it evenly so every slice gets a little bit of everything.
-
Cover with the second crust.
Lay it over the filling and seal the edges by pressing with a fork or pinching with your fingers. Don’t skip this step—it’s not just decorative, it keeps the filling inside as it bakes. Also, cut 3 to 5 small slits on top with a knife. Think of them as “chimneys” to let the steam escape.
-
Oven time! Bake for 30 to 35 minutes, depending on your oven.
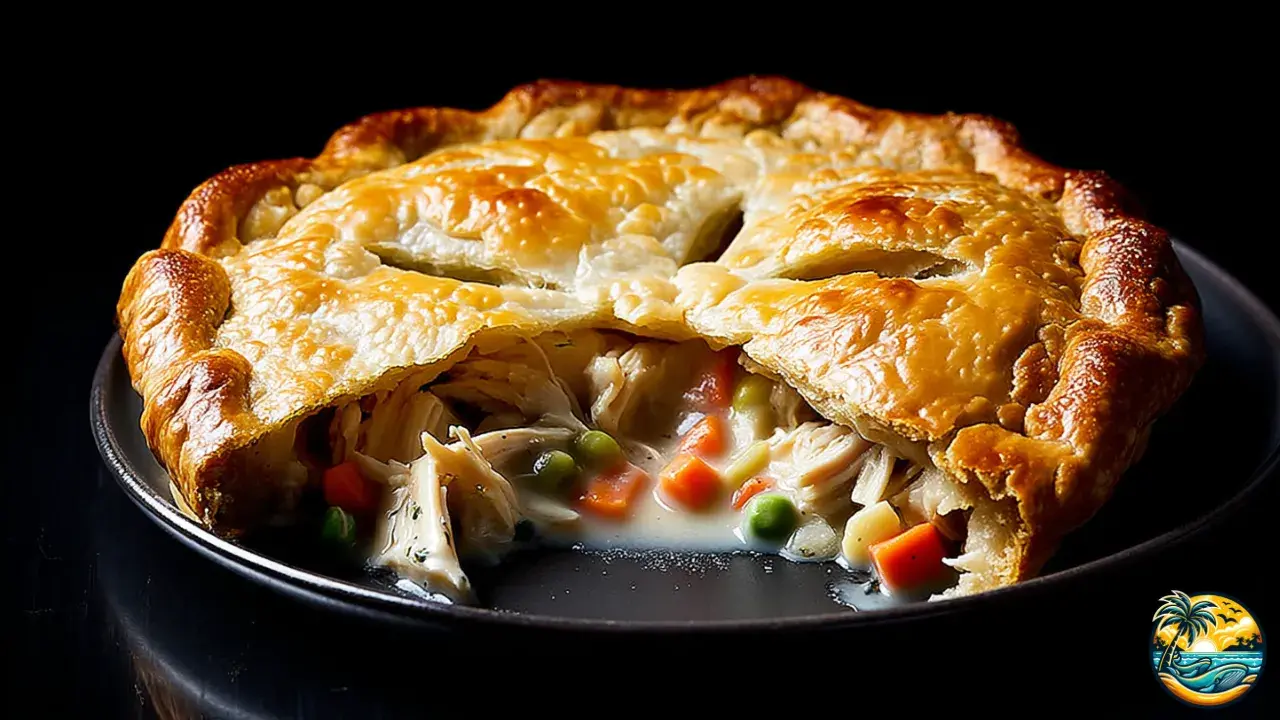
You’ll know it’s ready when the crust is golden brown and slightly puffed. If you see the edges browning too quickly, cover them with strips of foil so they don’t burn. The smell filling your kitchen will be your best sign that it’s almost done.
-
All done! Let it rest for 10 minutes before serving.
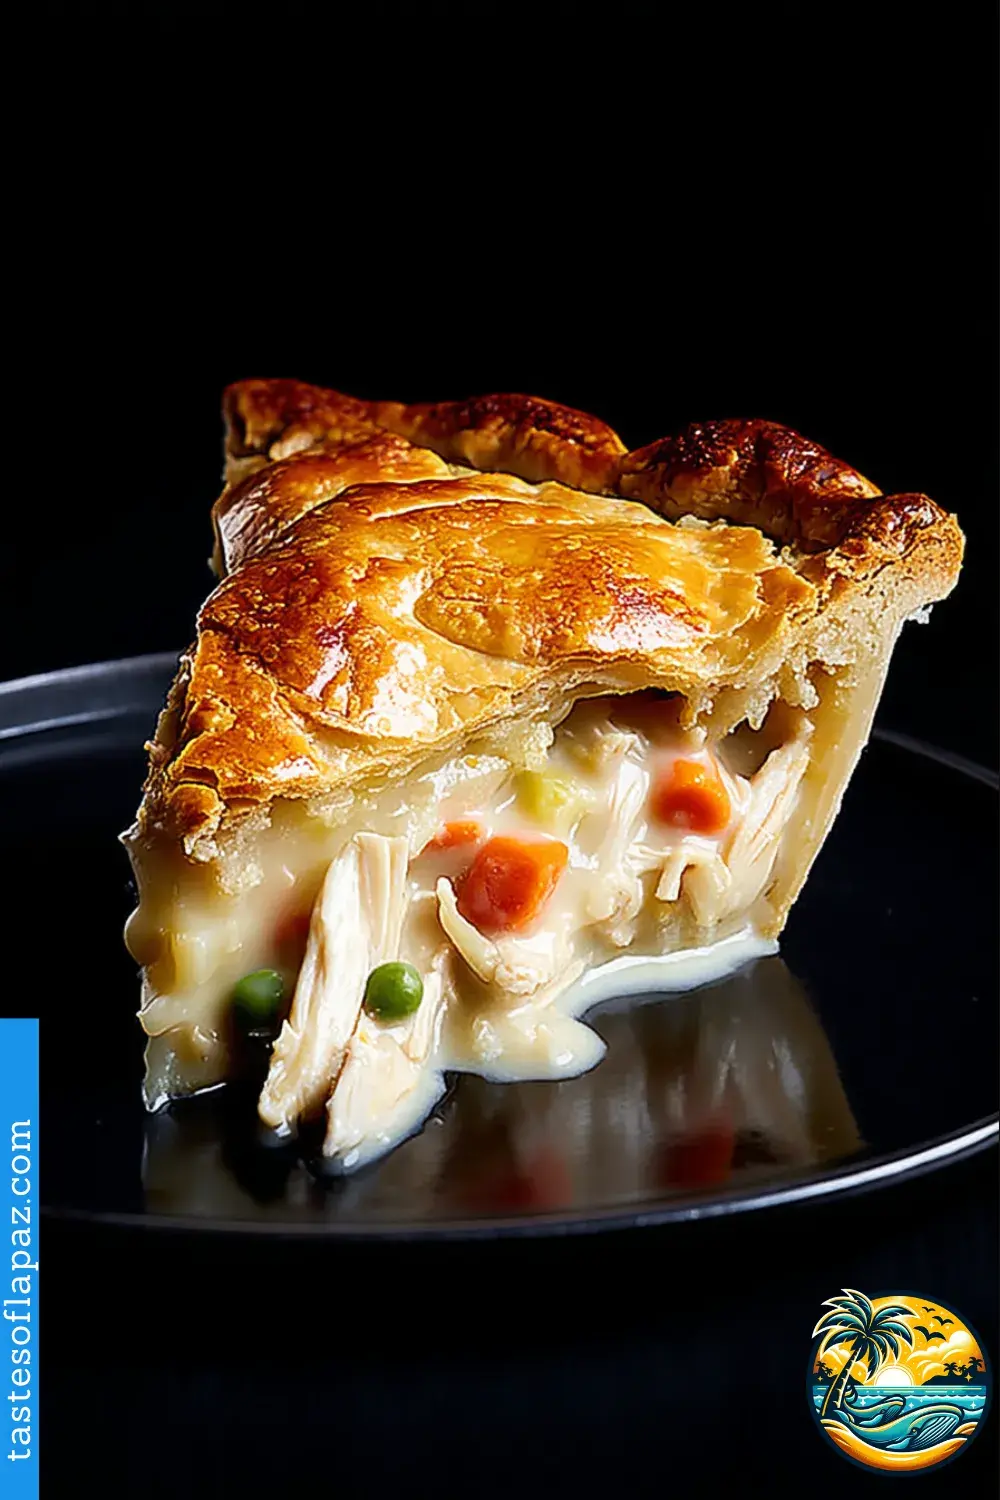
Don’t skip this step—if you cut it right away, the filling will spill out. Give it those few minutes and the sauce will set, letting you serve perfect slices with crispy crust and creamy filling in every bite. Totally worth the wait.

Ingredient Substitutions
- Chicken: If you don’t have chicken on hand, swap it for cooked shredded turkey.
- Carrots: You can trade these for diced sweet potato for a sweeter twist.
- Green peas: Switch them out with broccoli or green beans cut into small pieces.
- Pie crust: If you don’t have one, puff pastry works wonderfully as an alternative.
- Whole milk: You can use evaporated milk or unsweetened almond milk instead.
Prep Tips
- Golden finish: For an extra golden crust, brush it with beaten egg before baking.
- Time-saver: Grab a rotisserie chicken from the store and shred it—it’s a lifesaver.
- Even veggies: Always dice them into small cubes so they cook evenly.
- Resting time: Don’t forget! Always let it cool at least 10 minutes before slicing.
- Clean cuts: A sharp knife is your best friend for those perfect slices.
Common Mistakes (What Not to Do)
- Using raw chicken: Don’t do it—it won’t cook properly or evenly inside the pie.
- Skipping slits on top: Without those vents, steam won’t escape and your pie might burst.
- Forgetting to rest: Always, always wait at least 10 minutes before cutting, or the filling will spill out.
- Veggies too big: If you don’t cut them small, they’ll stay raw and ruin the texture.
- Baking at low temp: If you do, the crust will be pale, soggy, and honestly, not appetizing.
Frequently Asked Questions (FAQ)
- Can I make this with raw chicken? No, never—always use pre-cooked or rotisserie chicken.
- What if I don’t have a pie pan? No problem, just use a glass baking dish or even a lasagna pan, adjusting the crust.
- Can I make it vegetarian? Yes, and it’s delicious with mushrooms, chickpeas, or firm tofu.
- Can I use homemade crust? Of course—just let it rest before rolling it out.
- Can I make it dairy-free? Absolutely—use almond or soy milk and vegan butter.
- Can I prep the filling ahead? Yes, you can make it up to a day before and keep it in the fridge.
- How do I keep the filling from spilling over? Place a baking sheet underneath and cut slits on top of the crust.
- What if the crust is browning too fast? Cover the edges with foil and remove it at the end—just keep an eye on it.
- Can I make mini pot pies? Yes, and they come out super cute! Just bake them for 20–25 minutes.
- Can I use puff pastry instead of pie crust? Totally! Just check around 25 minutes since it browns faster.
Storing & Reheating
- Refrigerate: You can keep your chicken pot pie up to 4 days, well covered, no problem.
- Reheat in oven: 350 °F (175 °C) for 15–20 minutes to keep the crust crispy.
- Quick reheat: Not my favorite, but if you need to, use the microwave—just know the crust will be softer.
- Freeze: Once baked, you can freeze it for up to 2 months wrapped in foil and a freezer bag.

Serving Suggestions
- Pair your Chicken Pot Pie with a fresh spinach salad topped with walnuts and cranberries.
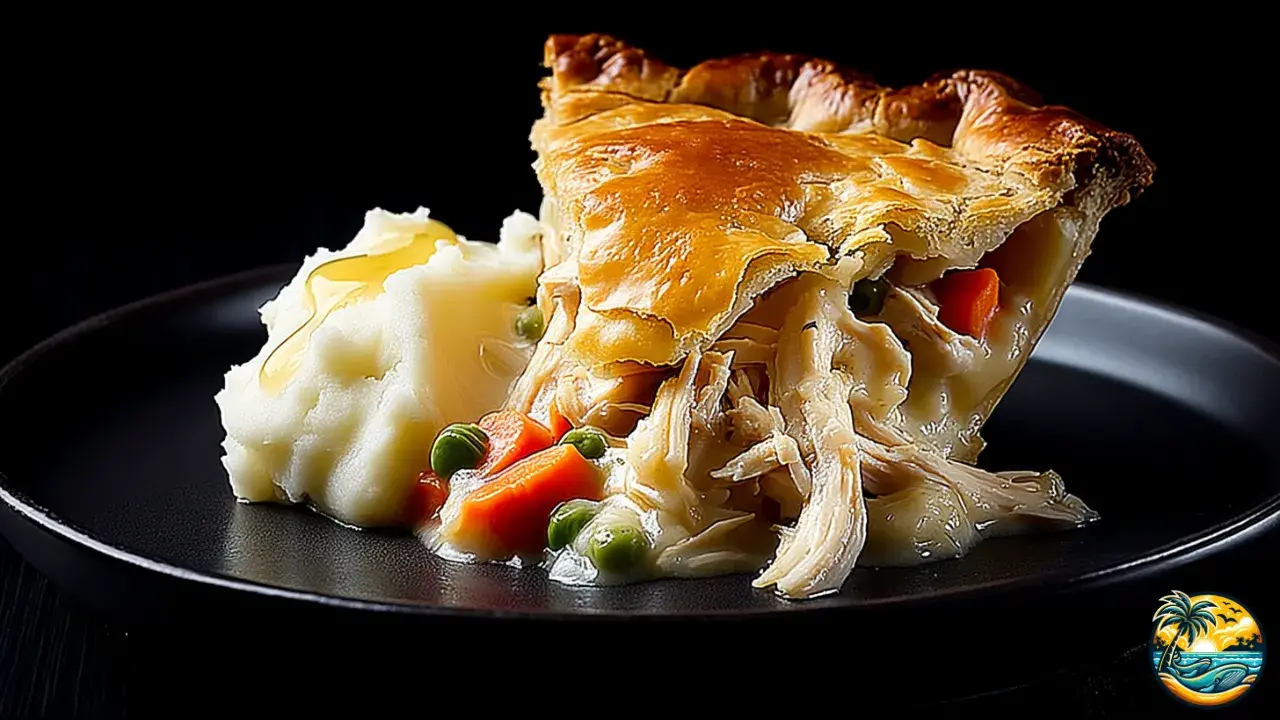
- Creamy mashed potatoes with a touch of butter—such a classic combo.
- Sautéed green beans with sliced almonds also work great.
- To drink, how about a glass of homemade mint lemonade?
- And for dessert, imagine a warm slice of apple pie with vanilla ice cream. Perfect, right?
Recipe Variations
- With puff pastry: Love puff pastry? Swap it for the pie crust—the texture is different but just as tasty.
- With biscuit topping: A fun twist! Cover with biscuit dough instead of traditional crust.
- Spicy version: If heat’s your thing, add jalapeños, chipotle, or Mexican spices for a kick.
- Lighter version: Go with whole wheat crust and low-fat milk for a healthier spin.
- Mini pot pies: Want a cute version? Use small ramekins for individual servings—just shorten the bake time.

Nutritional Information (per serving)
- Calories: 450 kcal
- Protein: 23 g
- Healthy Fats: 22 g
- Carbohydrates: 38 g
- Natural Sugars: 5 g
- Fiber: 3 g
- Sodium: 780 mg
And that’s it! We’ve wrapped up one of the most delicious and traditional recipes out there. I hope you enjoyed making it as much as I did. I can guarantee the flavor and texture will win everyone over—friends, family, whoever’s at the table—they’ll absolutely love this dish and the cook behind it… So, happy cooking!

Tastes of La Paz.
Chicken Pot Pie
Servings:6
Prep Time: 25 minutes
Cook Time: 45 minutes
Total Time: 1 hour and 10 minutes
Ingredients
- 1 pound (450 g) chicken breast, cooked and shredded
- 1 cup (240 ml) diced carrots
- 1 cup (240 ml) green peas
- 1/2 cup (120 ml) diced celery
- 1/3 cup (40 g) butter
- 1/3 cup (40 g) all-purpose flour
- 1/2 teaspoon salt
- 1/4 teaspoon black pepper
- 1/4 teaspoon onion powder
- 1/4 teaspoon garlic powder
- 1 3/4 cups (420 ml) chicken broth
- 2/3 cup (160 ml) whole milk
- 2 pie crusts (standard size, 9 inches / 23 cm)
Equipment Needed
- 9-inch (23 cm) pie pan
- Medium saucepan
- Whisk
- Wooden spoon
- Rolling pin (if you’re using homemade crust)
Instructions
-
Let’s get started! Preheat your oven to 425 °F (220 °C).
Make sure the rack is in the center of the oven so your pie bakes evenly and the crust browns just right. And hey, don’t waste time—while the oven heats up, get your ingredients and pie pan ready.
-
In a medium saucepan, melt the butter over medium heat.
Once it’s bubbling, add the flour along with the salt, pepper, onion powder, and garlic powder. Stir right away with a whisk or wooden spoon until it forms a thick, smooth paste—this is your “roux.” Do it with care, because this step really matters; it’s what gives body to your filling.
-
Now, slowly pour in the chicken broth and milk.
Do it in a thin stream while whisking nonstop—trust me, you don’t want any lumps here. Keep whisking until the mixture thickens and comes to a gentle boil. At this point, lower the heat and let it cook for 2 more minutes. You’re looking for a creamy sauce, not too runny, not too thick.
-
Chicken time! Add the shredded chicken, carrots, peas, and celery.
Stir it all together so every piece gets coated with that creamy sauce. This is the heart of your Chicken Pot Pie, so go ahead and taste the mix—adjust the salt and pepper if you need to. Then take the pan off the heat.
-
Place one of the pie crusts in your 9-inch (23 cm) pan.
Press it gently so it sticks to the bottom and sides of the pan. Do it firmly enough to shape it, but don’t tear the dough. If you’ve got extra dough hanging over, trim it with a knife. Then pour in the chicken and veggie filling, spreading it evenly so every slice gets a little bit of everything.
-
Cover with the second crust.
Lay it over the filling and seal the edges by pressing with a fork or pinching with your fingers. Don’t skip this step—it’s not just decorative, it keeps the filling inside as it bakes. Also, cut 3 to 5 small slits on top with a knife. Think of them as “chimneys” to let the steam escape.
-
Oven time! Bake for 30 to 35 minutes, depending on your oven.
You’ll know it’s ready when the crust is golden brown and slightly puffed. If you see the edges browning too quickly, cover them with strips of foil so they don’t burn. The smell filling your kitchen will be your best sign that it’s almost done.
-
All done! Let it rest for 10 minutes before serving.
Don’t skip this step—if you cut it right away, the filling will spill out. Give it those few minutes and the sauce will set, letting you serve perfect slices with crispy crust and creamy filling in every bite. Totally worth the wait.
Nutritional Information (per serving)
- Calories: 450 kcal
- Protein: 23 g
- Healthy Fats: 22 g
- Carbohydrates: 38 g
- Natural Sugars: 5 g
- Fiber: 3 g
- Sodium: 780 mg

Tastes of La Paz.