Fluffy Buttermilk Pancakes
Homemade recipes you'll love making.
Fluffy Buttermilk Pancakes
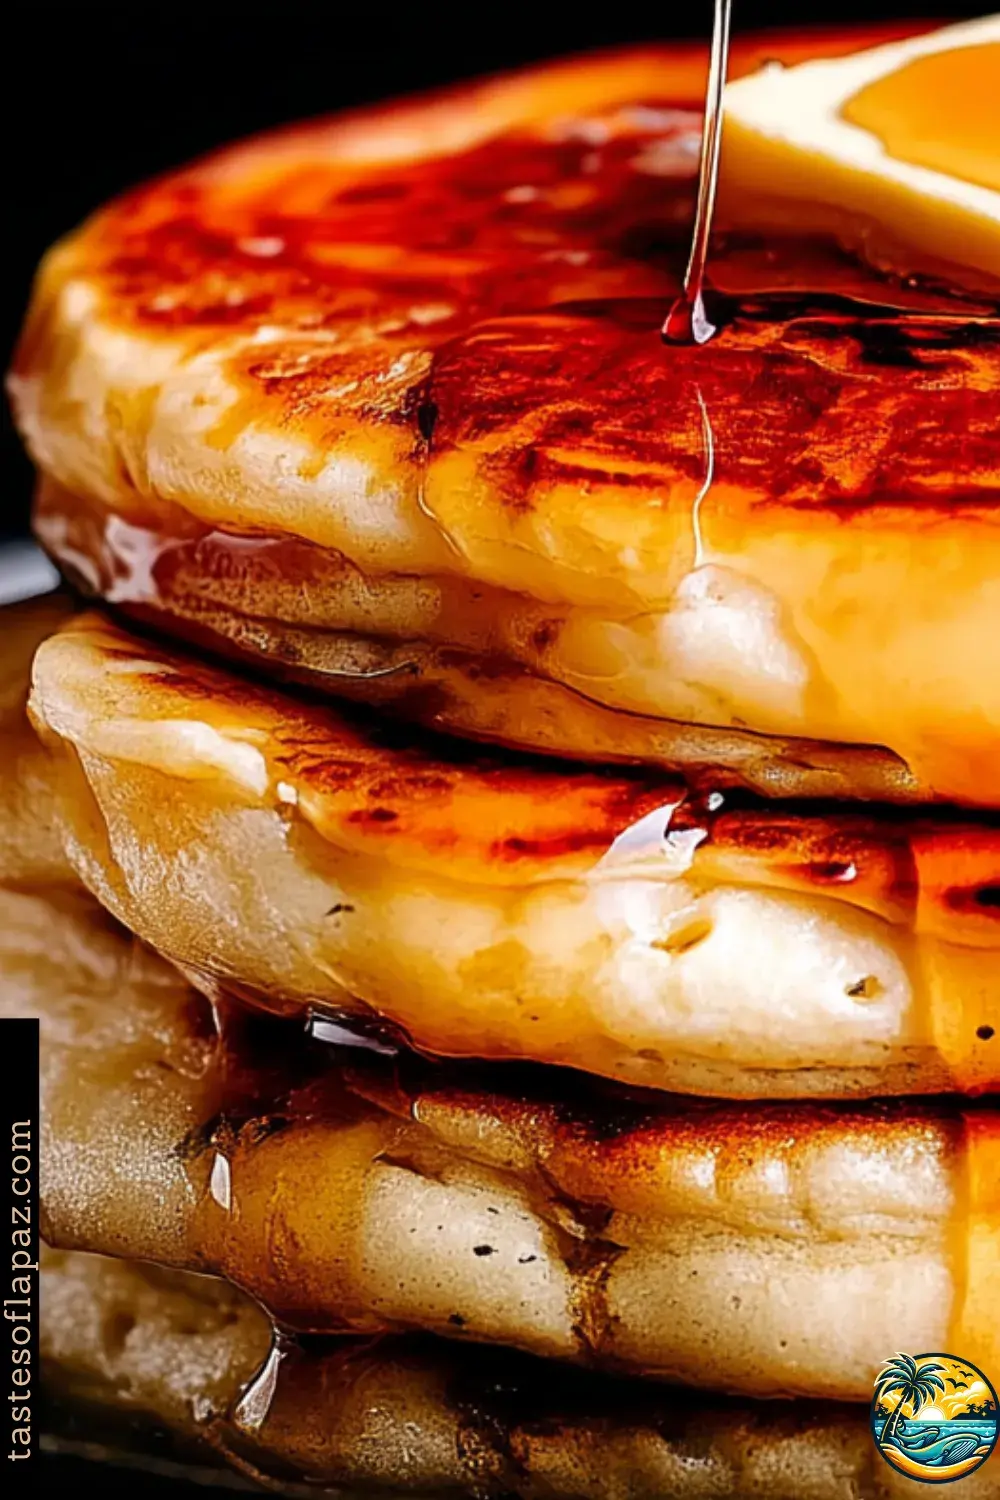
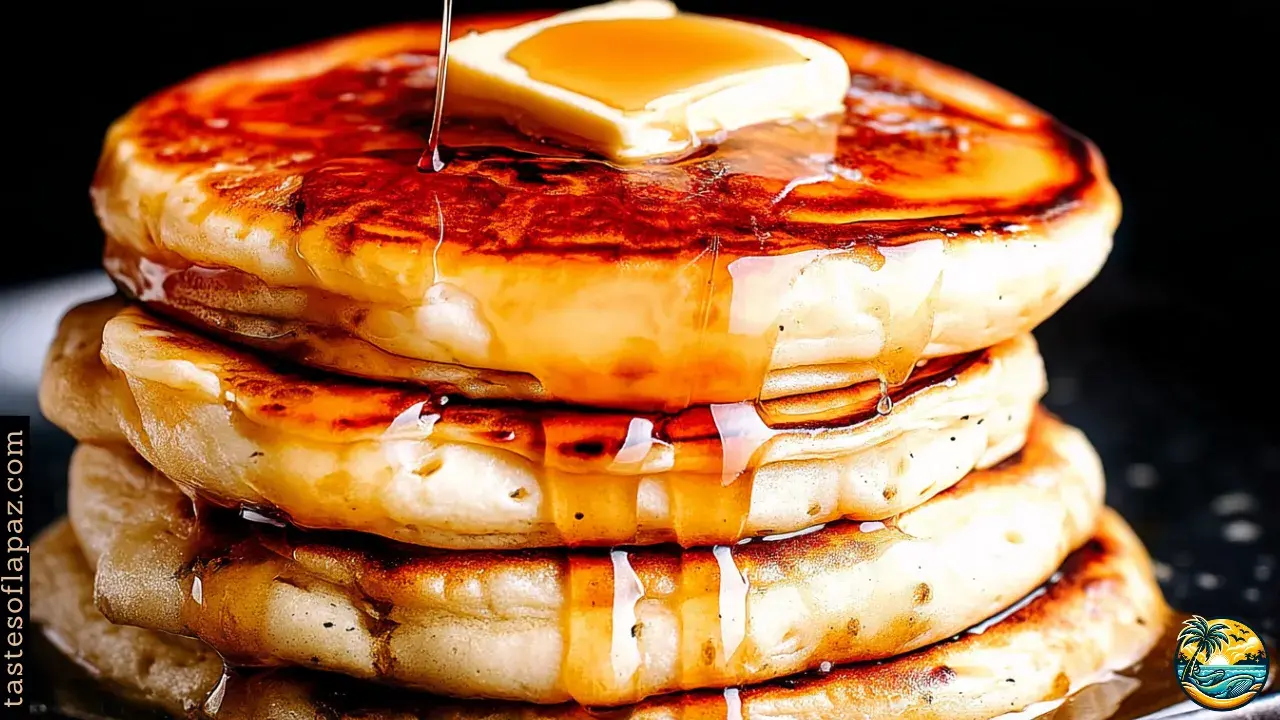
So, we all love pancakes, and the fluffier, the better, right? Well, once you try these extra-fluffy Buttermilk Pancakes, you'll want to make them again and again! They're incredibly thick, light, and soft on the inside, with perfectly golden edges and that delicious buttery flavor that goes so well with maple syrup and fresh strawberries. And the best part? You can whip them up with just a handful of simple ingredients and enjoy restaurant-style pancakes without even leaving your kitchen. So, let's make some!
⭐Why You’ll Love This Recipe
- Incredibly thick, fluffy, and soft on the inside
- Easy to make with simple pantry ingredients
- Perfectly golden, buttery, and better than diner-style pancakes
Fluffy Buttermilk Pancakes
Servings:8 large, thick pancakes (4 servings of 2 pancakes each)
Prep Time: 15 minutes
Resting Time: 10 minutes
Cook Time:20 minutes
Total Time:45 minutes
Ingredients
- 2 cups all-purpose flour (250 g)
- 2 tablespoons granulated sugar (25 g)
- 1 tablespoon baking powder (12 g)
- 1/2 teaspoon baking soda (2.5 g)
- 1/2 teaspoon salt (3 g)
- 1 3/4 cups cultured buttermilk (420 ml)
- 2 large eggs, at room temperature
- 1/4 cup unsalted butter, melted and slightly cooled (57 g)
- 1 teaspoon vanilla extract (5 ml)
- 1 teaspoon butter or vegetable oil for greasing the skillet (5 g or 5 ml)
Optional Ingredients for Serving
- 2 tablespoons unsalted butter (28 g)
- 1/4 cup pure maple syrup (60 ml)
- 1 cup fresh strawberries, whole or sliced (150 g)
Equipment Needed
- 1 large mixing bowl for the dry ingredients
- 1 medium mixing bowl for the wet ingredients
- 1 whisk
- 1 silicone spatula
- 1 large nonstick skillet or pancake griddle
- 1 wide spatula for flipping the pancakes
- Measuring cups and spoons
- 1 portion scoop or 1/3-cup measuring cup (80 ml)
See 5 variations of the recipe at the end.
You might also be interested in:
Did You Know?
Did you know there's actually a day dedicated entirely to pancakes in the United States? It's called National Pancake Day, although different organizations celebrate it on different dates. And here's the funny part: American pancakes are so popular that some people have an almost sacred rule when it comes to eating them: never separate the stack before pouring on the maple syrup! The whole idea is to let that delicious syrup slowly drip down between the layers. Although, if you're making these fluffy buttermilk pancakes, the real challenge will probably be resisting the temptation to eat the very first one straight out of the skillet!
Instructions
- Let's get started! First, add the all-purpose flour, sugar, baking powder, baking soda, and salt to a large mixing bowl. Using a whisk, mix everything really well, with a little love, for a few seconds until all the ingredients are evenly combined. Make sure to break up any large lumps of flour, because we want a nice, even mixture to help us make those thick, fluffy pancakes we all love so much.
- Now, in a separate bowl, crack the eggs and whisk them lightly until the whites and yolks are combined. Next, add the buttermilk, melted butter, and vanilla extract. Gently mix everything together with a little extra love until all the ingredients are well combined. Here's a quick little tip: always make sure your melted butter is warm, not hot, so you don't accidentally cook the eggs, okay?
- Gradually pour the wet ingredients into the dry ingredients and start folding everything together using a silicone or wooden spatula. Use gentle, folding motions to combine the mixture. You don't need to overmix or make the batter completely smooth. In fact, a few small lumps are perfectly fine, just not big ones. The important thing here is to make sure there's no visible dry flour and that your batter stays nice and thick, because that's one of the secrets to making truly fluffy pancakes.
- Now comes a simple but important step, so don't skip it! Just let the batter rest at room temperature for about 10 minutes. During this time, the flour will begin absorbing the liquid, while the leavening agents produce tiny bubbles that help give our pancakes that beautiful rise. Don't worry if you notice the batter getting a little thicker. That's completely normal! Just make sure you don't stir it again after resting, because we want to keep as much of that air in the batter as possible.
- While the batter finishes resting, place a nonstick skillet or griddle over medium-low heat. Let it warm up for a couple of minutes, then add a small amount of butter or vegetable oil. Spread it evenly across the cooking surface and wipe away any excess with a paper towel. Remember, we want the skillet hot, but not too hot, because our pancakes need enough time to cook all the way through while developing that beautiful golden-brown color on the outside.
- It's time to make our beautiful pancakes! Scoop about 1/3 cup of batter (80 ml) and carefully pour it into the center of the skillet. Let it spread naturally without pressing it down or spreading it around with your spatula. This part is important! Since the batter is nice and thick, you'll notice that it holds its round shape and starts gaining some height as it cooks. Ideally, we're aiming for pancakes about 1/2 to 3/4 inch thick (1.3 to 1.9 cm), but of course, the exact thickness can vary a little.
- Let the first side cook for about 2 to 3 minutes without moving the pancake. Little by little, you'll start noticing tiny bubbles forming on the surface, while the edges become firmer and look slightly dry. At this point, carefully lift one edge with your spatula to check that the bottom has that beautiful golden-brown color we're looking for. And hey, if you notice it's browning too quickly, just turn the heat down a little. We definitely don't want burnt pancakes! A little patience goes a long way here, because that's how we'll get a perfectly cooked, soft, fluffy center.
- Once the first side is ready and beautifully golden, slide a wide spatula underneath the pancake and flip it over with one confident but gentle motion. Cook the second side for another 2 to 3 minutes, until it's golden brown too and the center is completely cooked through. You'll notice that the pancake keeps its thickness and might even puff up a little more as it finishes cooking. Oh, and one very important thing I almost forgot: don't press down on the pancake with your spatula, even if you're tempted! You'll end up squeezing out some of that wonderful airiness and fluffiness we've worked so hard to create.
- Now, remove the pancake from the skillet and transfer it to a plate or baking sheet. Continue cooking the remaining batter the same way, adding a little more butter or oil whenever needed. If you'd like to keep all your pancakes nice and warm while you finish cooking, try placing them on a baking sheet in an oven preheated to 200°F (95°C). You can also place them in the turned-off oven to help keep them warm for a short time. Just don't leave them in there too long, or they might start losing some of their moisture.
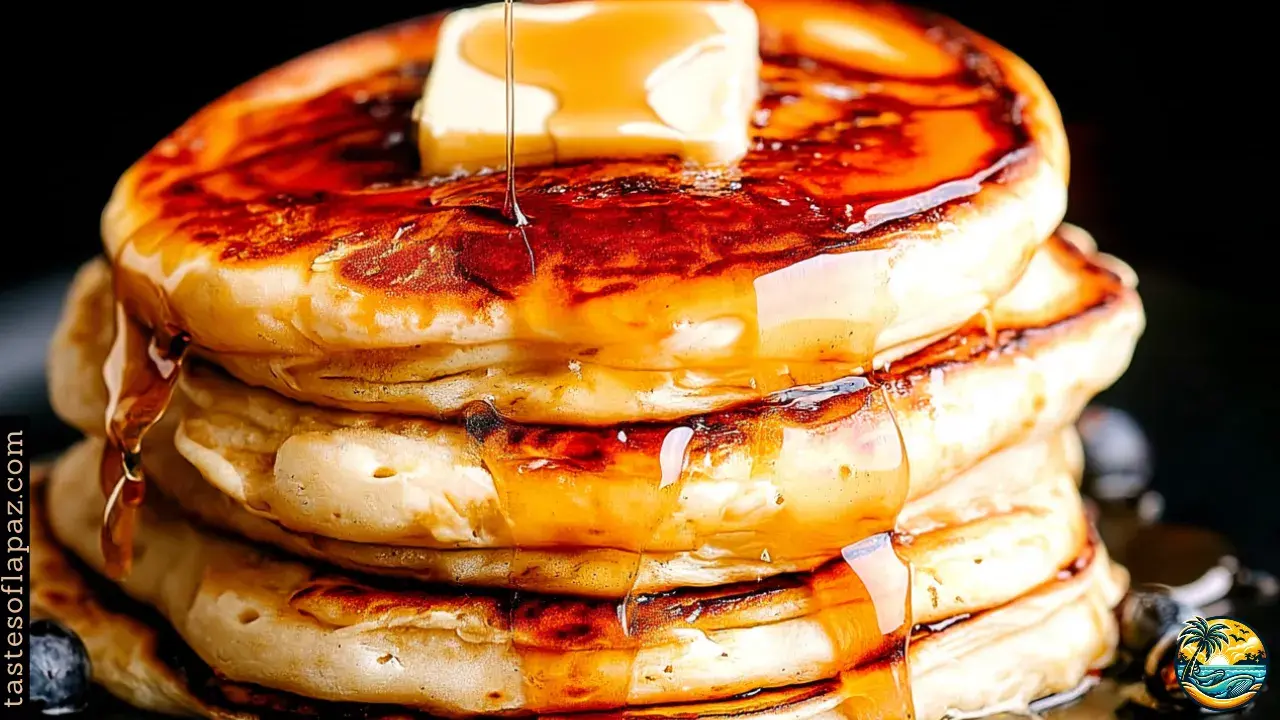
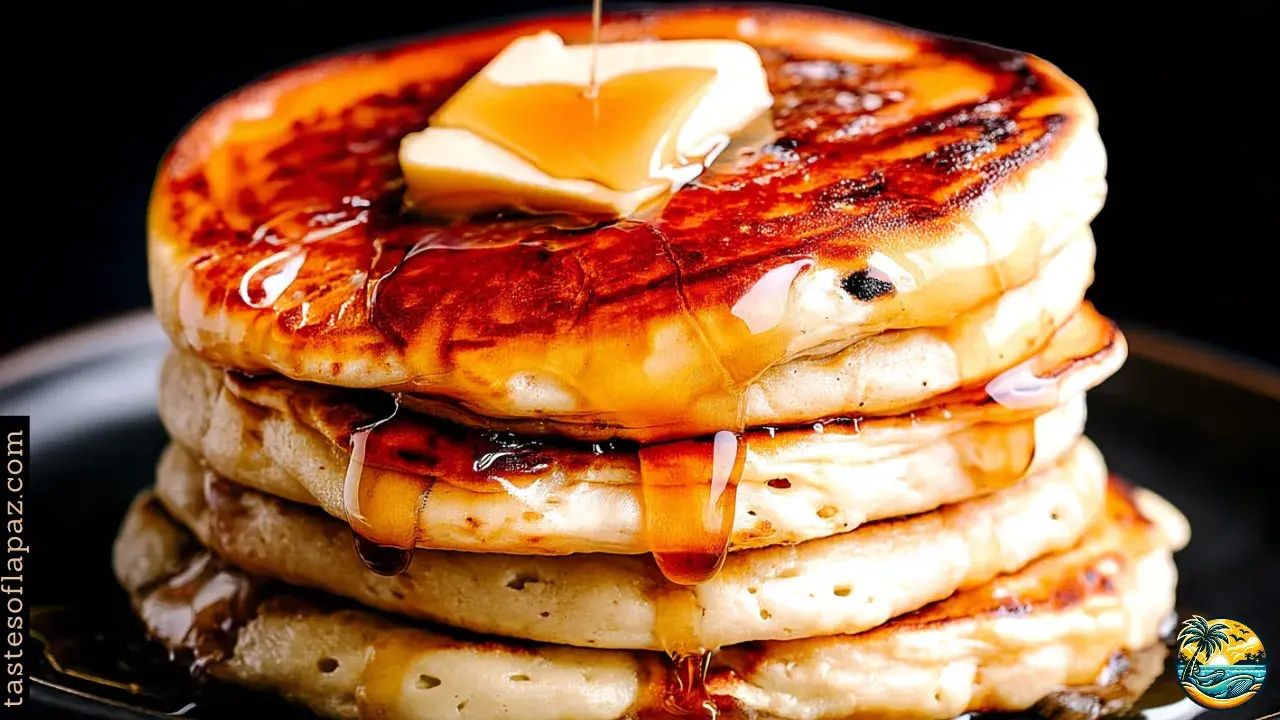
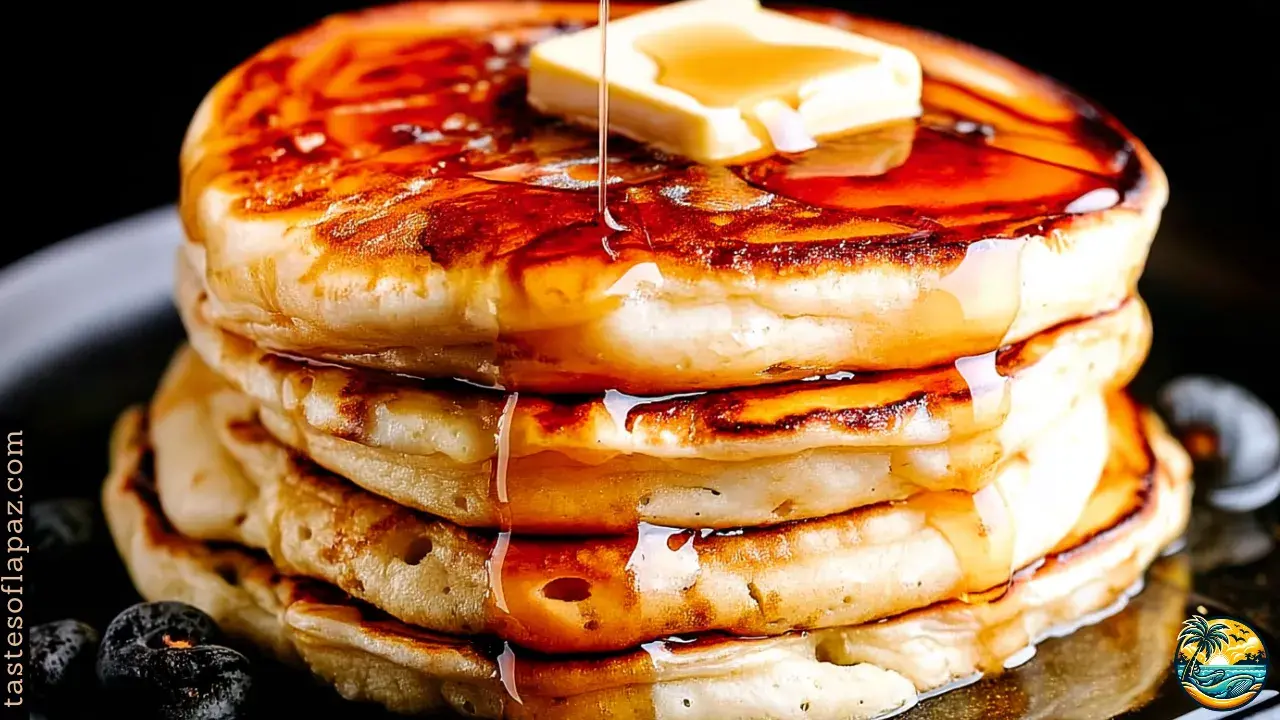
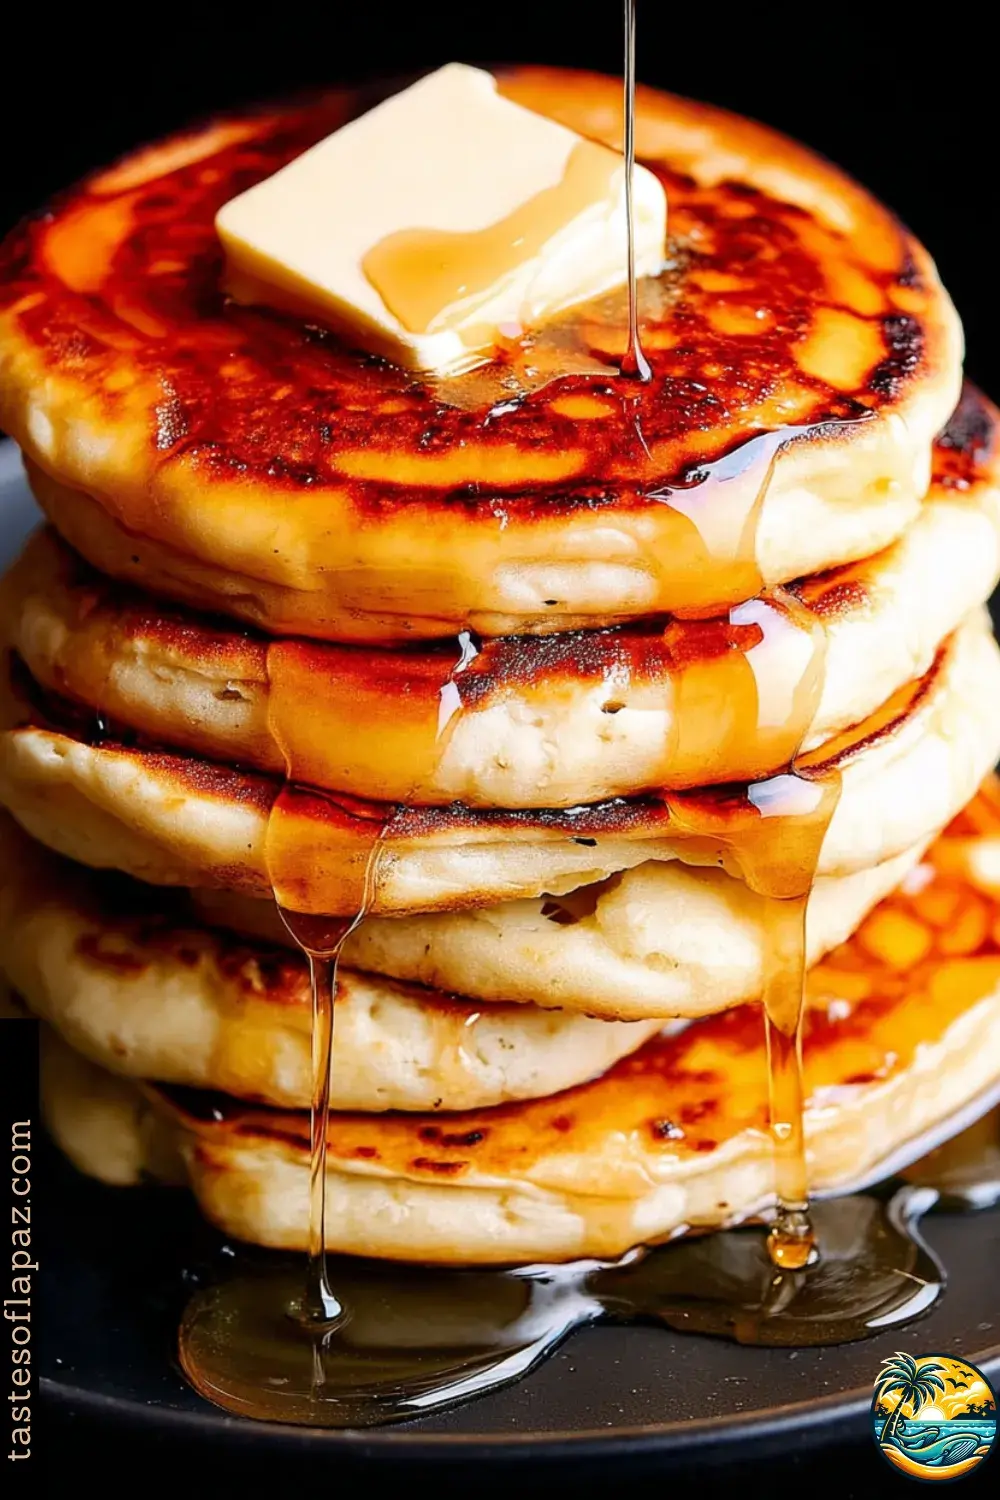
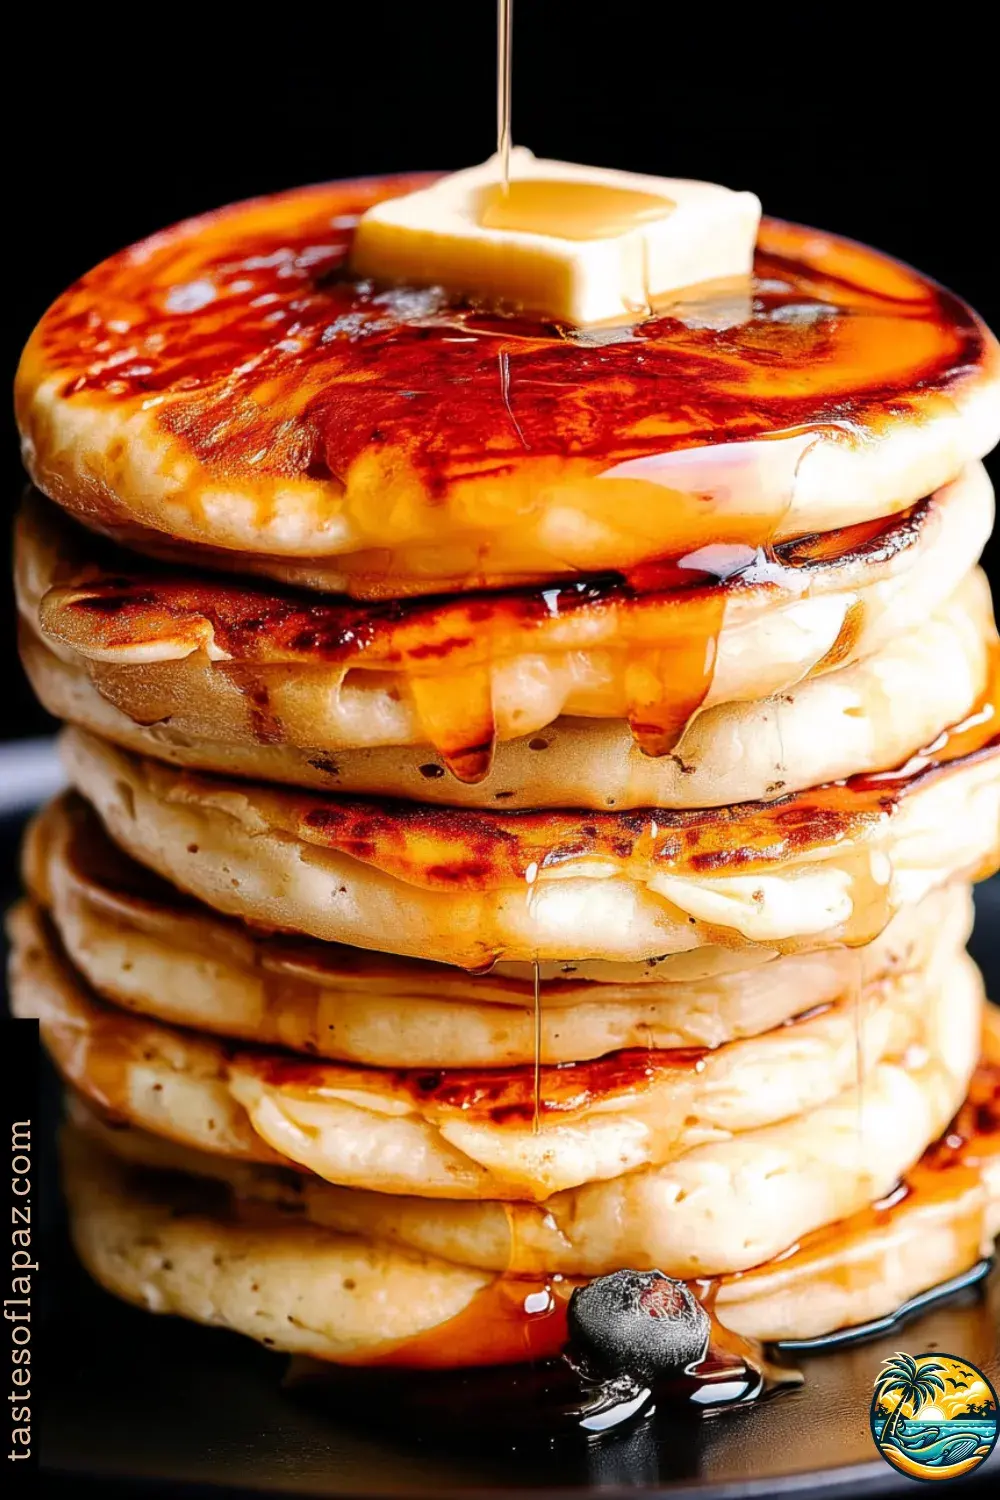
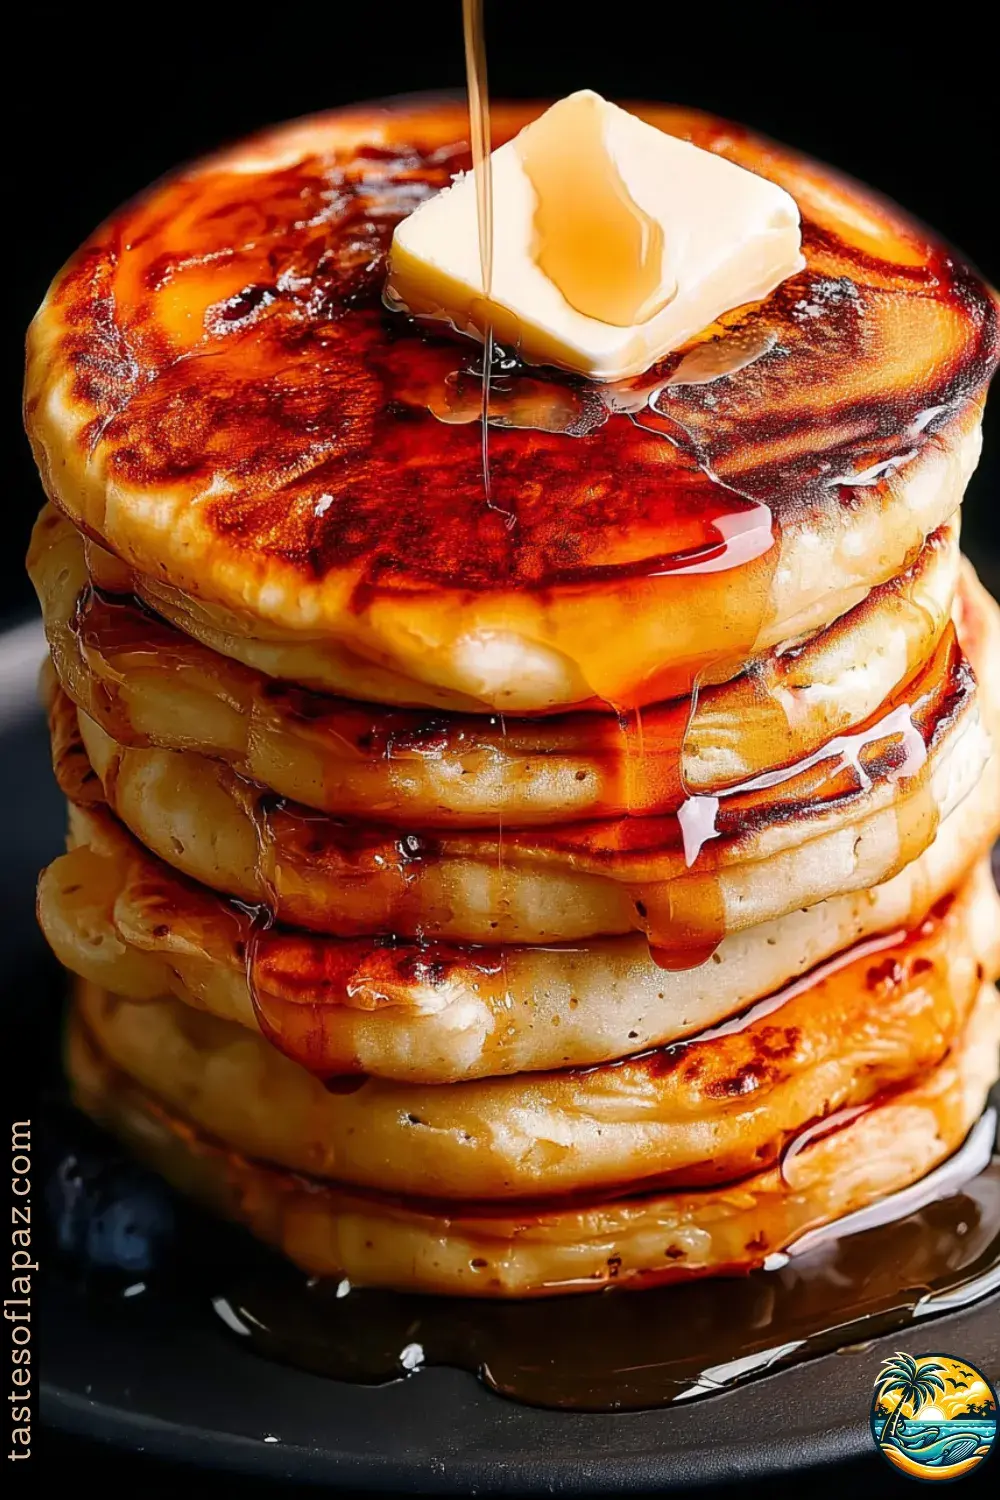
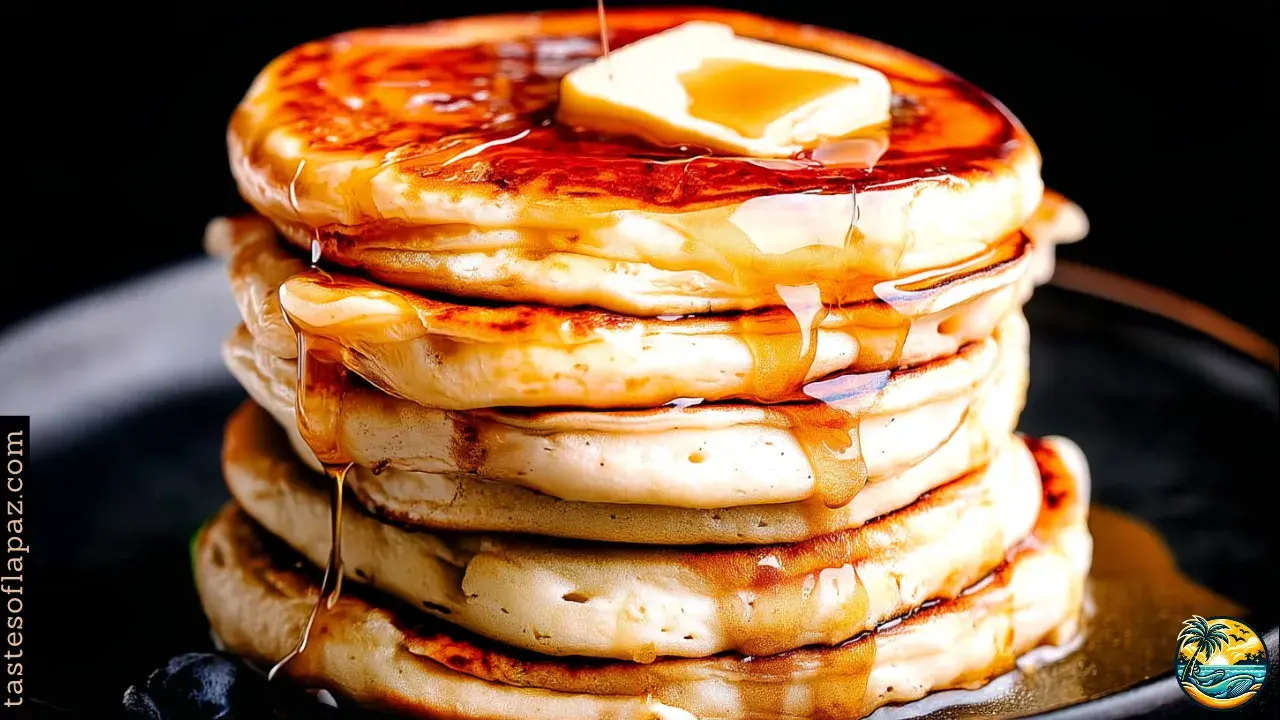
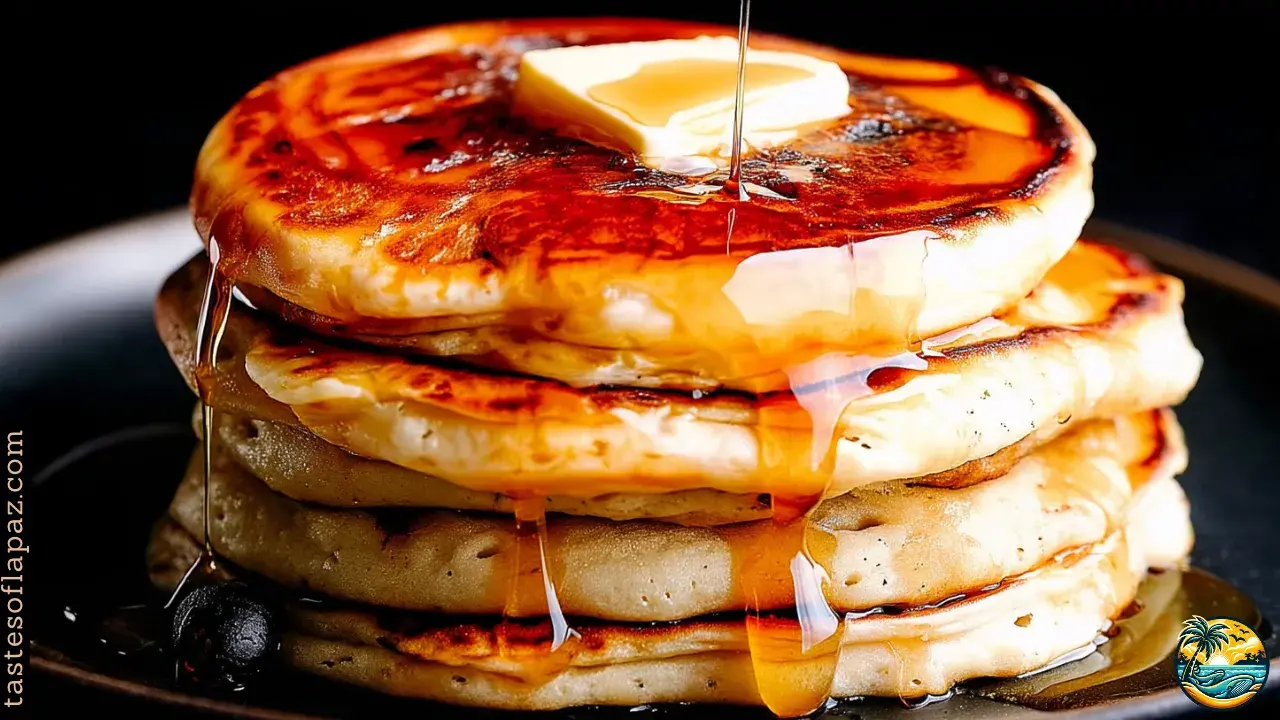
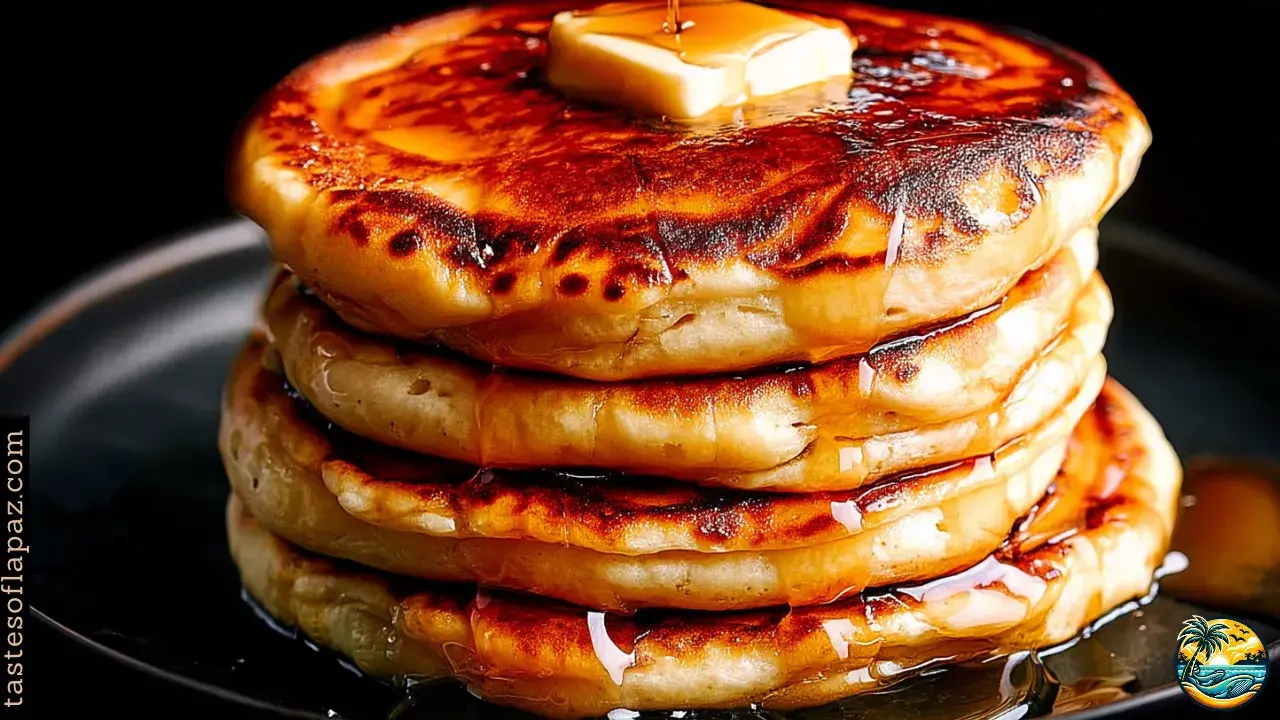
- And that's it! Stack your pancakes on a plate, place a little pat of butter on top, and let it slowly melt from the heat. Then, of course, drizzle on a generous amount of maple syrup and add some fresh strawberries or your favorite fruit on the side. Serve them right away and enjoy your thick, golden, wonderfully soft and fluffy Buttermilk Pancakes!
Ingredient Substitutions
- Buttermilk: If you don't have buttermilk, no worries! Just add 1 tablespoon of lemon juice or white vinegar (15 ml) to a measuring cup, then pour in enough whole milk to reach 1 cup (240 ml). Don't forget to let it sit for 5 to 10 minutes, and make as much as you need for our recipe.
- All-Purpose Flour: You can easily substitute cake flour in the same amount.
- Granulated Sugar: If you don't have white sugar, you can also use 2 tablespoons of brown sugar (25 g), and your pancakes will turn out great!
- Butter: You can replace 1/4 cup of melted butter (57 g) with 1/4 cup of neutral vegetable oil (60 ml). Your pancakes will still be nice and soft, although keep in mind they'll have a little less of that delicious buttery flavor.
- Eggs: If you can't use eggs, simply replace each one with 1 tablespoon of ground flaxseed (7 g) mixed with 3 tablespoons of water (45 ml). Let the mixture sit for about 10 minutes. Just keep in mind that your pancakes may turn out a little less fluffy and slightly denser.
- Vanilla Extract: If you don't have vanilla, you can simply leave it out or add 1/4 teaspoon of ground cinnamon (0.5 g) for a different but equally delicious aroma.
- Baking Powder: If you're out of baking powder, the truth is, your best bet is to get some before making this recipe. It's really important for achieving those thick, fluffy pancakes, and baking soda alone won't give you the same results.
- Maple Syrup: You can obviously swap maple syrup for honey, agave syrup, or a homemade berry sauce.
- Fresh Strawberries: If you don't have strawberries, you can leave them out or serve your pancakes with blueberries, raspberries, sliced bananas, or a mix of fresh fruit.
Prep Tips
- Measure Your Ingredients Carefully: I always recommend weighing your flour whenever possible, because if you add too much, your batter will become heavy, and your pancakes will most likely turn out dry instead of soft and fluffy.
- Use Good-Quality Buttermilk: Whenever possible, use cultured buttermilk to get that tender, thick texture and a slightly tangy flavor.
- Keep a Few Small Lumps: Don't forget to mix the ingredients just until the flour is incorporated. You don't need perfectly smooth batter, because leaving a few small lumps helps prevent overworking the gluten.
- Keep the Batter Thick: This is important! Your batter should fall slowly from the spoon and spread very little in the skillet. If it's too runny, your pancakes will simply turn out thinner and lose much of that beautiful height.
- Give the Batter a Short Rest: Always let your batter rest for 5 to 10 minutes before cooking.
- Control the Temperature: Always cook over medium-low heat so your pancakes can rise and cook evenly. If your skillet is too hot, they'll brown on the outside before they're fully cooked inside, so be careful with this one!
- Keep Your Portions Even: Use about 1/3 cup of batter (80 ml) per pancake. This way, you'll get pancakes that are similar in size, cook evenly, look beautiful, and are much easier to stack. And trust me, they'll look even better on your plate!
- Flip Carefully: To get this right, wait until bubbles appear on the surface and the edges start looking firm. Flip your pancakes just ONCE, and never press them down if you want to keep that beautiful, thick, fluffy texture.
- Add Butter Before Serving: Place at least a small pat of butter on top of your warm pancakes and let it slowly melt. Then add the maple syrup right before serving.
Common Mistakes (What Not to Do)
- Overmixing the Batter: Remember, don't keep mixing until every single lump disappears. This is important! Overmixing can leave you with tough, chewy pancakes that aren't nearly as fluffy.
- Adding Too Much Liquid: Don't pour in extra milk just because your batter looks thick. That thick consistency is exactly what helps create those tall, fluffy pancakes.
- Using Expired Baking Powder: Funny enough, this really does make a difference! If your baking powder has lost its effectiveness, your pancakes may turn out flat and dense. So, it's always a good idea to check that it's fresh before you start.
- Leaving Out the Baking Soda: Don't skip it without adjusting the recipe, because baking soda reacts with the acidity in buttermilk and helps your pancakes rise and develop that beautiful golden color.
- Cooking Over High Heat: Never use a skillet that's too hot. Thick pancakes need enough time to cook all the way through without burning on the outside.
- Flipping Too Early: Don't try flipping your pancakes while the surface is still completely wet. They could break apart, lose their shape, or end up raw in the middle. Not good at all, trust me!
- Pressing Down on the Pancakes: Remember this one: never press your pancakes with the spatula after flipping them. If you do, you'll compress that soft interior and lose some of the airy texture we're trying to achieve.
- Letting the Batter Rest Too Long: Also, don't prepare your batter several hours ahead without adjusting the method, because some of the airiness can be lost over time.
- Using Too Much Butter in the Skillet: You definitely don't want your pancakes swimming in grease! A thin layer is more than enough to get beautifully golden, evenly cooked pancakes.
- Stacking Them Before They're Fully Cooked: Don't remove your pancakes from the skillet just because they look golden. Always make sure the centers are completely cooked through.
FAQ
- What Makes Fluffy Buttermilk Pancakes So Fluffy? Well, here's the thing: the combination of buttermilk, baking soda, and baking powder creates tiny bubbles that help the batter rise. Plus, that thick consistency and gentle mixing help keep the pancakes wonderfully light and airy.
- Can I Make These Pancakes With Regular Milk? Of course you can! Whole milk works, although the results will be slightly different. To get closer to the original recipe, I always recommend making a homemade buttermilk substitute using milk and lemon juice or vinegar.
- Why Are My Pancakes Flat Instead of Thick? This usually happens because your batter is too runny, your leavening agents aren't working properly, or maybe you mixed the batter too much. Also, make sure your skillet is at the right temperature, preferably around medium-low heat.
- Can I Use Self-Rising Flour? Yes, but remember that you'll need to adjust the baking powder and salt because self-rising flour already contains leavening agents. For more consistent results, I recommend sticking with regular all-purpose flour.
- How Do I Know When to Flip My Pancakes? This one's easy! Just wait until bubbles appear on the surface, some start popping, and the edges look slightly firm. The bottom should be beautifully golden before you flip.
- Why Are My Pancakes Raw in the Middle? Your skillet is probably too hot, or your pancakes may be a little too thick. Simply lower the heat and give them enough time to cook slowly so the heat can reach the center.
- Can I Make the Batter the Night Before? I'd say it's better not to. The truth is, it's not the best idea because the baking soda starts reacting as soon as it comes into contact with the buttermilk. What you can do instead is mix the dry ingredients ahead of time and refrigerate the wet ingredients separately, then combine everything right before cooking.
- Can I Freeze Fluffy Buttermilk Pancakes? Absolutely! Just let them cool completely, place a piece of wax paper between each pancake, and store them in an airtight freezer bag. You can keep them frozen for up to 2 months for the best quality.
- How Can I Reheat Pancakes Without Drying Them Out? You can warm them in the oven at 325°F (165°C) for 5 to 8 minutes, or until heated through. You can also use a toaster on a low setting to bring back a little of that beautiful golden exterior.
- What Can I Serve With These Pancakes? Well, they're absolutely delicious with butter, maple syrup, and fresh strawberries, just like the classic version. You can also serve them with blueberries, bananas, whipped cream, toasted nuts, or a spoonful of Greek yogurt. Or go with my personal favorite: extra butter! And I mean a little pat of butter on top of EVERY single pancake.
Storing & Reheating
- Refrigeration: First, let your pancakes cool completely, then store them in an airtight container in the refrigerator for up to 4 days. No problem at all! Just remember to place a piece of wax paper between each pancake to keep them from sticking together.
- Meal Prep: Here's a great idea: make a double batch over the weekend and store individual portions of 2 pancakes each. That way, you'll have quick, delicious breakfasts ready for several days without having to whip up fresh batter every morning.
- Freezing: Remember, for this method, place your completely cooled pancakes on a baking sheet and freeze them for about 1 hour. Then transfer them to an airtight freezer bag. They'll keep nicely for up to 2 months while maintaining their texture and flavor.
- Reheating in the Microwave: This is definitely the fastest option, although maybe not the best one. Simply place 1 or 2 pancakes on a microwave-safe plate, cover them with a slightly damp paper towel, and heat for 20 to 40 seconds, or until they're warm and soft.
- Reheating in the Oven: This is a better option if you want to bring back that wonderful fluffy texture. Place your pancakes on a baking sheet and warm them at 325°F (165°C) for 5 to 8 minutes. Just keep in mind that frozen pancakes will need approximately 10 to 15 minutes.
- Reheating in the Toaster: For an even quicker breakfast, pop your pancakes into the toaster on a low or medium setting. Just be sure to keep an eye on them so they don't dry out or get too brown.
Serving Suggestions
- Serve your fluffy pancakes with creamy scrambled eggs and a few strips of crispy bacon. I don't think I need to say anything else!
- Top them with a mix of fresh strawberries, blueberries, and raspberries, along with a spoonful of plain Greek yogurt.
- They're also absolutely delicious with golden-brown breakfast sausage links and a few cinnamon-sprinkled apple slices.
- Enjoy them with a hot café latte, a frothy cappuccino, or an iced vanilla latte if you're in the mood for something cold.
- For an extra-special brunch, finish things off with a little chocolate mousse, individual strawberry cheesecake cups, or a vanilla parfait with mixed berries.
For Kids and Teens
- Make some mini pancakes for the kids using about 2 tablespoons of batter (30 ml) per pancake, and serve them with sliced bananas and fresh strawberries.
- You can also pair them with scrambled eggs and little cubes of cheddar cheese. It's such a delicious, satisfying combination that makes for a more complete breakfast!
- Make little pancake sandwiches by spreading a thin layer of peanut butter between two pancakes and adding a few banana slices.
- For drinks, you can offer a glass of cold milk, a homemade strawberry-banana smoothie, or a vanilla shake made with milk and plain yogurt. They'll love them!
- For a special dessert, serve a mini vanilla yogurt parfait with strawberries and granola, or make some little fruit skewers with a drizzle of melted chocolate.
Recipe Variations
- Blueberry Buttermilk Pancakes: To make this classic variation, simply add 3/4 cup of fresh blueberries (110 g) to the batter. I actually recommend scattering them over each pancake right after pouring the batter into the skillet. That way, you won't crush the berries while mixing.
- Chocolate Chip Pancakes: If you love chocolate, and let's be honest, you should, add 1/2 cup of semisweet chocolate chips (85 g). Scatter them evenly over your pancakes before flipping, then serve with fresh strawberries for a seriously delicious, sweet breakfast.
- Cinnamon Roll Pancakes: For this cinnamon-loaded treat, mix 2 tablespoons of brown sugar (25 g), 1 teaspoon of ground cinnamon (2.5 g), and 1 tablespoon of melted butter (14 g). Spoon small amounts over each pancake while it cooks, then finish with a light vanilla glaze. So good!
- Lemon Ricotta Pancakes: For a more delicate, creamy version, simply add 1/2 cup of ricotta cheese (125 g) and 1 teaspoon of lemon zest (2 g). Here, you'll want to reduce the buttermilk by 1/4 cup (60 ml) to keep the batter nice and thick. The result? Wonderfully soft pancakes with a delicious, fresh citrus aroma.
- Banana Walnut Pancakes: For this delicious variation, add 1 small mashed ripe banana (100 g) and 1/3 cup of chopped walnuts (40 g). Reduce the buttermilk by 1/4 cup (60 ml) to balance the extra moisture from the banana. You'll end up with naturally sweet pancakes and a wonderful little crunch from the walnuts.
Nutritional Information (per serving)
Energy: 420 kcal | Protein: 12 g | Total Fat: 17 g | Saturated Fat: 10 g | Carbohydrates: 54 g | Sugars: 11 g | Fiber: 2 g | Sodium: 820 mg | Cholesterol: 145 mg
Nutritional values are approximate and may vary depending on the brands of ingredients you use, the size of your pancakes, and the amount of butter or oil used during cooking.

Tastes of La Paz.
Fluffy Buttermilk Pancakes
Servings:8 large, thick pancakes (4 servings of 2 pancakes each)
Prep Time: 15 minutes
Resting Time: 10 minutes
Cook Time:20 minutes
Total Time:45 minutes
Ingredients
- 2 cups all-purpose flour (250 g)
- 2 tablespoons granulated sugar (25 g)
- 1 tablespoon baking powder (12 g)
- 1/2 teaspoon baking soda (2.5 g)
- 1/2 teaspoon salt (3 g)
- 1 3/4 cups cultured buttermilk (420 ml)
- 2 large eggs, at room temperature
- 1/4 cup unsalted butter, melted and slightly cooled (57 g)
- 1 teaspoon vanilla extract (5 ml)
- 1 teaspoon butter or vegetable oil for greasing the skillet (5 g or 5 ml)
Optional Ingredients for Serving
- 2 tablespoons unsalted butter (28 g)
- 1/4 cup pure maple syrup (60 ml)
- 1 cup fresh strawberries, whole or sliced (150 g)
Equipment Needed
- 1 large mixing bowl for the dry ingredients
- 1 medium mixing bowl for the wet ingredients
- 1 whisk
- 1 silicone spatula
- 1 large nonstick skillet or pancake griddle
- 1 wide spatula for flipping the pancakes
- Measuring cups and spoons
- 1 portion scoop or 1/3-cup measuring cup (80 ml)
Instructions
- Let's get started! First, add the all-purpose flour, sugar, baking powder, baking soda, and salt to a large mixing bowl. Using a whisk, mix everything really well, with a little love, for a few seconds until all the ingredients are evenly combined. Make sure to break up any large lumps of flour, because we want a nice, even mixture to help us make those thick, fluffy pancakes we all love so much.
- Now, in a separate bowl, crack the eggs and whisk them lightly until the whites and yolks are combined. Next, add the buttermilk, melted butter, and vanilla extract. Gently mix everything together with a little extra love until all the ingredients are well combined. Here's a quick little tip: always make sure your melted butter is warm, not hot, so you don't accidentally cook the eggs, okay?
- Gradually pour the wet ingredients into the dry ingredients and start folding everything together using a silicone or wooden spatula. Use gentle, folding motions to combine the mixture. You don't need to overmix or make the batter completely smooth. In fact, a few small lumps are perfectly fine, just not big ones. The important thing here is to make sure there's no visible dry flour and that your batter stays nice and thick, because that's one of the secrets to making truly fluffy pancakes.
- Now comes a simple but important step, so don't skip it! Just let the batter rest at room temperature for about 10 minutes. During this time, the flour will begin absorbing the liquid, while the leavening agents produce tiny bubbles that help give our pancakes that beautiful rise. Don't worry if you notice the batter getting a little thicker. That's completely normal! Just make sure you don't stir it again after resting, because we want to keep as much of that air in the batter as possible.
- While the batter finishes resting, place a nonstick skillet or griddle over medium-low heat. Let it warm up for a couple of minutes, then add a small amount of butter or vegetable oil. Spread it evenly across the cooking surface and wipe away any excess with a paper towel. Remember, we want the skillet hot, but not too hot, because our pancakes need enough time to cook all the way through while developing that beautiful golden-brown color on the outside.
- It's time to make our beautiful pancakes! Scoop about 1/3 cup of batter (80 ml) and carefully pour it into the center of the skillet. Let it spread naturally without pressing it down or spreading it around with your spatula. This part is important! Since the batter is nice and thick, you'll notice that it holds its round shape and starts gaining some height as it cooks. Ideally, we're aiming for pancakes about 1/2 to 3/4 inch thick (1.3 to 1.9 cm), but of course, the exact thickness can vary a little.
- Let the first side cook for about 2 to 3 minutes without moving the pancake. Little by little, you'll start noticing tiny bubbles forming on the surface, while the edges become firmer and look slightly dry. At this point, carefully lift one edge with your spatula to check that the bottom has that beautiful golden-brown color we're looking for. And hey, if you notice it's browning too quickly, just turn the heat down a little. We definitely don't want burnt pancakes! A little patience goes a long way here, because that's how we'll get a perfectly cooked, soft, fluffy center.
- Once the first side is ready and beautifully golden, slide a wide spatula underneath the pancake and flip it over with one confident but gentle motion. Cook the second side for another 2 to 3 minutes, until it's golden brown too and the center is completely cooked through. You'll notice that the pancake keeps its thickness and might even puff up a little more as it finishes cooking. Oh, and one very important thing I almost forgot: don't press down on the pancake with your spatula, even if you're tempted! You'll end up squeezing out some of that wonderful airiness and fluffiness we've worked so hard to create.
- Now, remove the pancake from the skillet and transfer it to a plate or baking sheet. Continue cooking the remaining batter the same way, adding a little more butter or oil whenever needed. If you'd like to keep all your pancakes nice and warm while you finish cooking, try placing them on a baking sheet in an oven preheated to 200°F (95°C). You can also place them in the turned-off oven to help keep them warm for a short time. Just don't leave them in there too long, or they might start losing some of their moisture.
- And that's it! Stack your pancakes on a plate, place a little pat of butter on top, and let it slowly melt from the heat. Then, of course, drizzle on a generous amount of maple syrup and add some fresh strawberries or your favorite fruit on the side. Serve them right away and enjoy your thick, golden, wonderfully soft and fluffy Buttermilk Pancakes!
Nutritional Information (per serving)
Energy: 420 kcal | Protein: 12 g | Total Fat: 17 g | Saturated Fat: 10 g | Carbohydrates: 54 g | Sugars: 11 g | Fiber: 2 g | Sodium: 820 mg | Cholesterol: 145 mg
Nutritional values are approximate and may vary depending on the brands of ingredients you use, the size of your pancakes, and the amount of butter or oil used during cooking.

Tastes of La Paz.