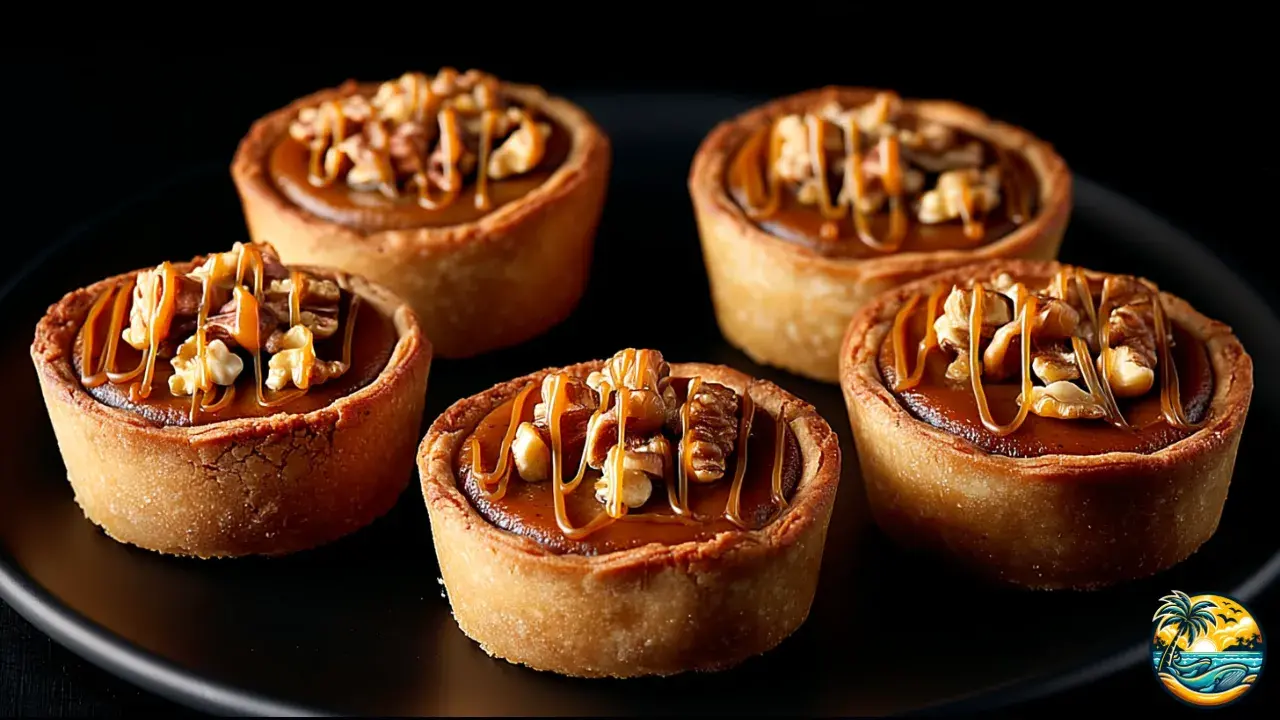
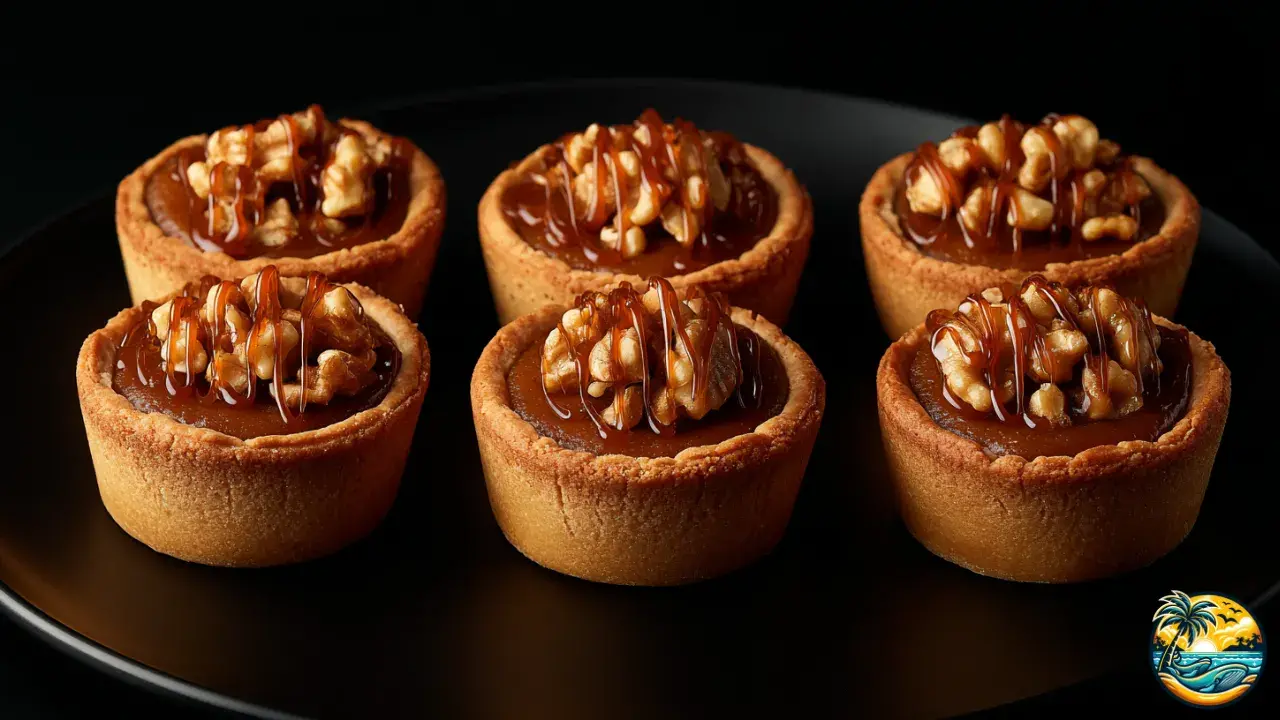
Gourmet Mini Pumpkin Pies
Savor the World.
Gourmet Mini Pumpkin Pies
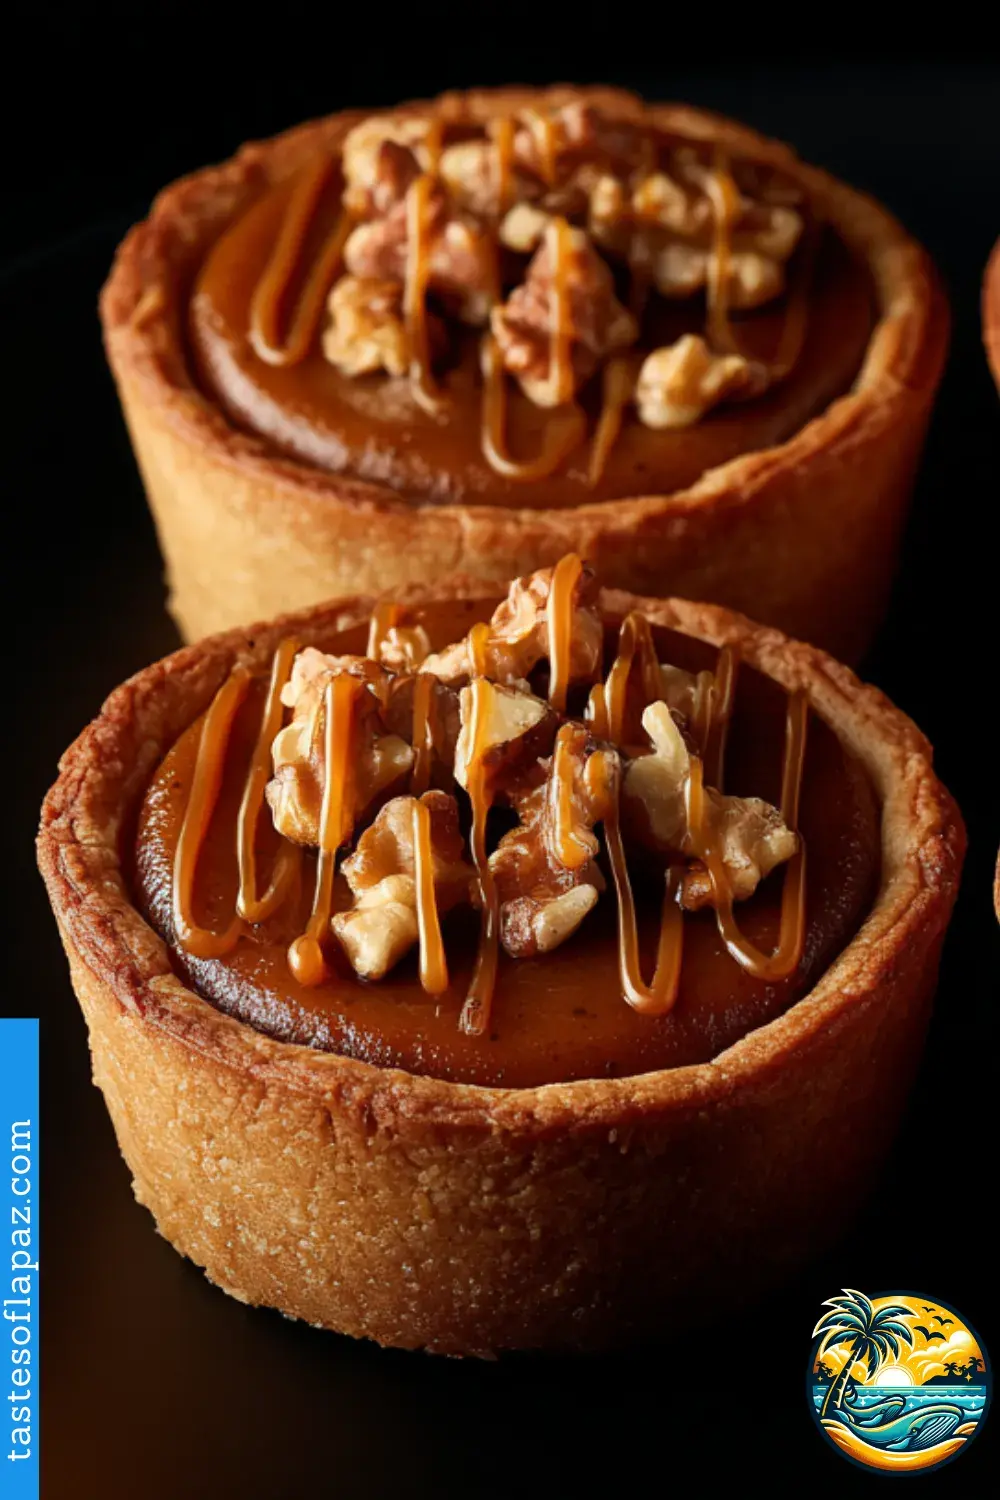
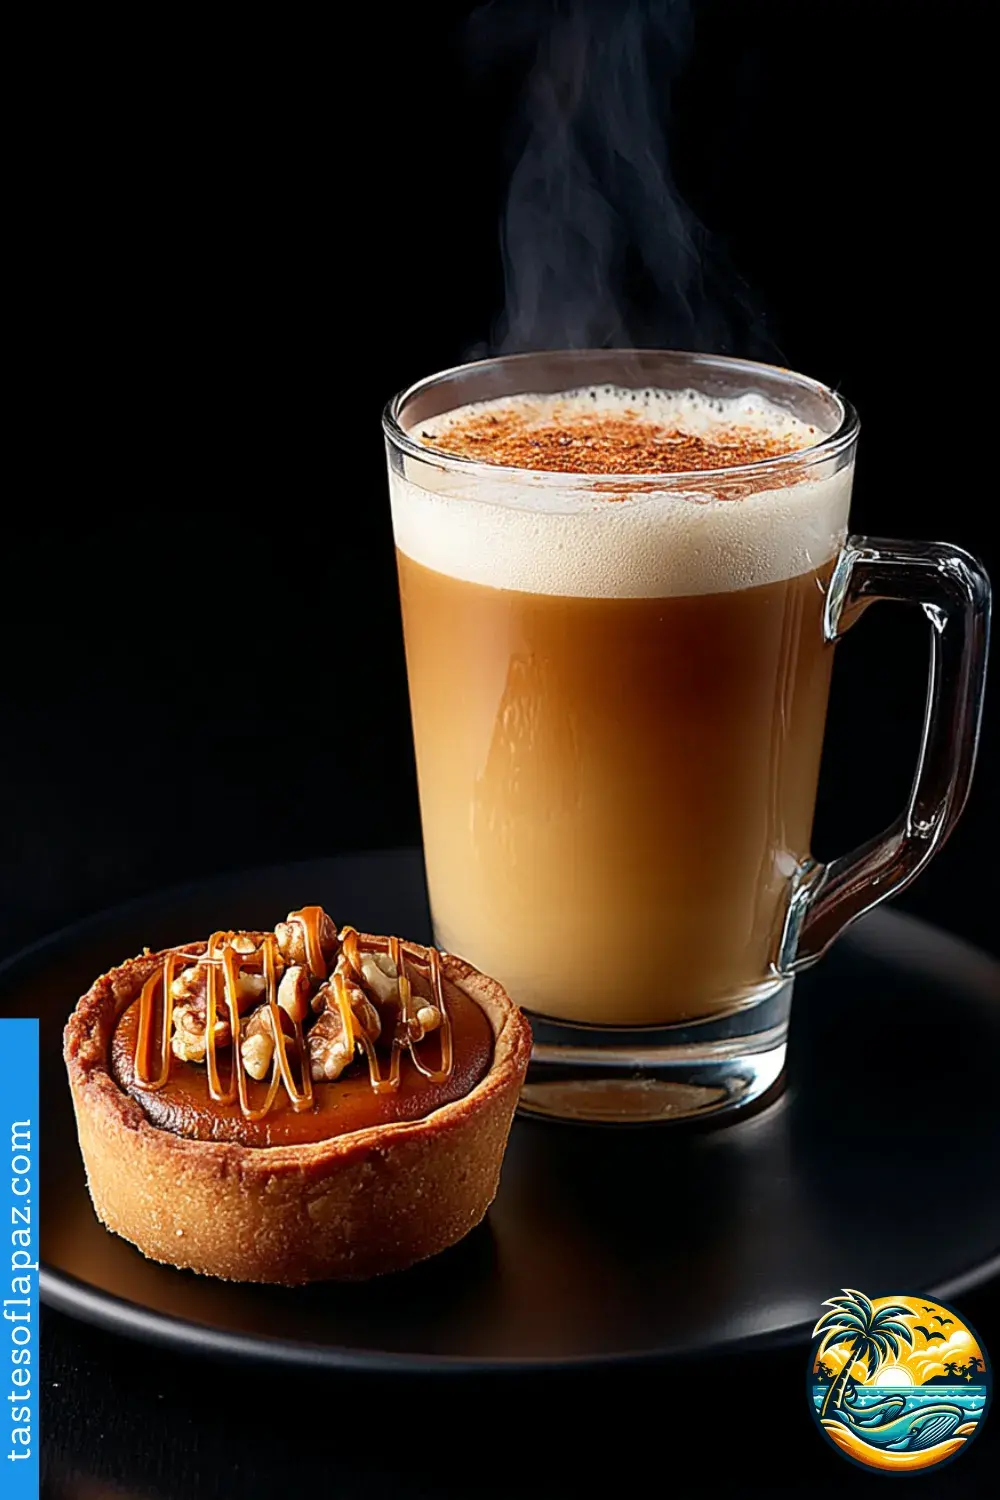
Who doesn’t love pumpkin pies? But this gourmet and extra cute version is not only delicious and easy to make, it’s also— and you know I’m not lying—super photogenic to share on social media, perfect for parties, or simply because you felt like treating yourself a little (and honestly, you deserve it). So let’s do it!
Gourmet Mini Pumpkin Pies
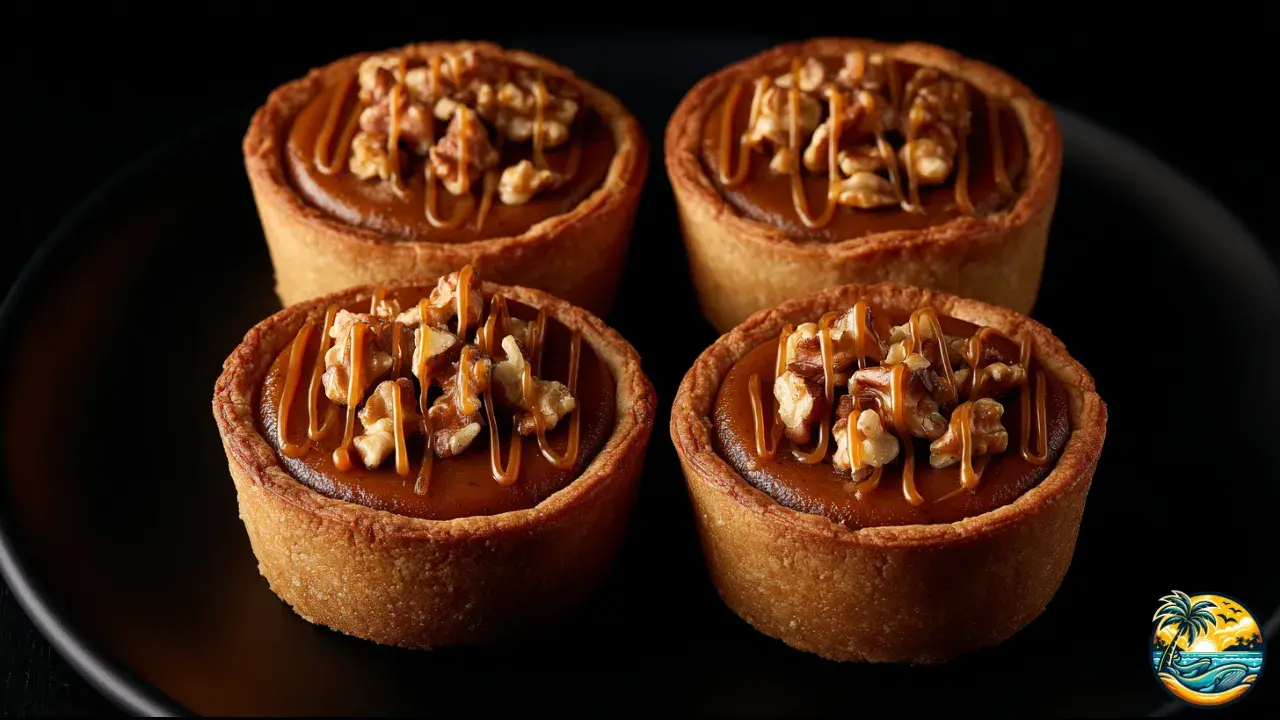
Servings:12 mini pies
Prep Time: 20 minutes
Cook Time: 25 minutes
Total Time: 45 minutes
Ingredients
- 1 package of refrigerated pie dough (2 discs)
- 1 cup (240 ml) pumpkin puree
- 1/2 cup (120 ml) evaporated milk
- 1/4 cup (50 g) brown sugar
- 1/4 cup (50 g) granulated sugar
- 1 large egg
- 1 egg yolk
- 1 teaspoon pumpkin spice mix
- 1/2 teaspoon vanilla extract
- 1/4 cup (30 g) chopped walnuts
- 1/4 cup (60 ml) salted caramel
- Pinch of salt
Tools you’ll need
- Non-stick muffin pan
- Rolling pin
- Large mixing bowl
- Whisk
- Measuring spoons
- Knife or round cookie cutter
See 5 variations of the recipe at the end.
You might also be interested in:
Did You Know?
Pumpkin spice got so popular in the U.S. that you’ll find it in candles, soaps, and even cat food! These mini pies are the tastiest (and most edible) way to enjoy the fall craze without going overboard.

Instructions
- Let’s get started! Preheat your oven to 350°F (175°C). While it heats up, lightly grease your muffin pan with a little butter or, even better, non-stick spray. This will keep the dough from sticking and make it way easier to pop out your mini pies without breaking them.
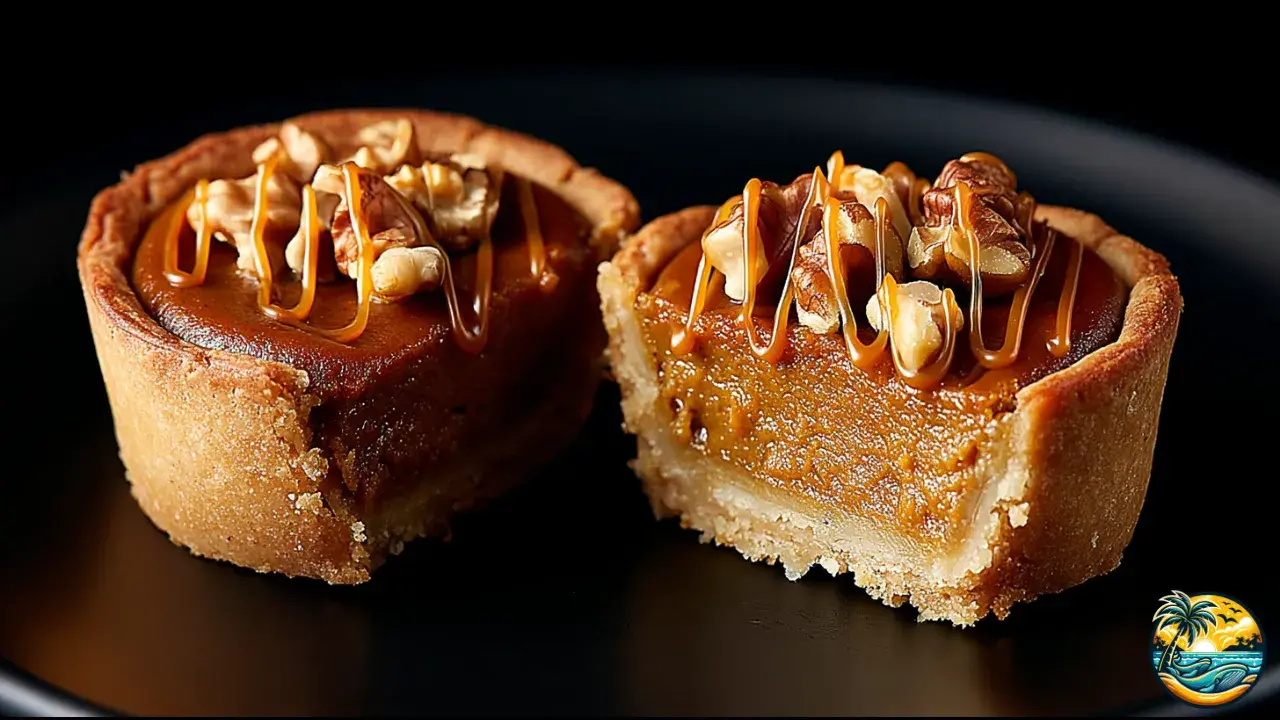
- Now, place the pie dough on a floured surface and roll it out until it’s even and thin—but not too thin. Using a round cookie cutter or a wide glass, cut out 12 circles just slightly larger than each muffin cavity. Gently press each circle into the pan, making sure the dough fits snugly at the bottom and up the sides.
- In a large mixing bowl, combine the pumpkin puree, evaporated milk, brown sugar, granulated sugar, egg, yolk, pumpkin spice, vanilla, and a pinch of salt. Whisk it all together until the filling is creamy, smooth, and the spices are fully blended. You’ll notice the texture—it’s pretty easy to tell when it’s ready.
- Using a large spoon or a small ice cream scoop, fill each dough base with the pumpkin mixture, only up to about 3/4 full. Don’t overfill—trust me, the filling will puff up a bit in the oven and you don’t want it spilling over.
- Time to bake! Place the pan in the oven and bake for about 20–25 minutes, or until the center looks just set and the crust edges turn golden. Here’s a good trick: gently shake the pan—if the center jiggles slightly but doesn’t look runny, they’re done.
- Almost there! Take the pan out of the oven and let the mini pies rest for about 10 minutes before removing them. Don’t skip this step—it helps the filling finish setting so they don’t fall apart. Then, carefully use a small spatula or thin knife to loosen and lift them out.
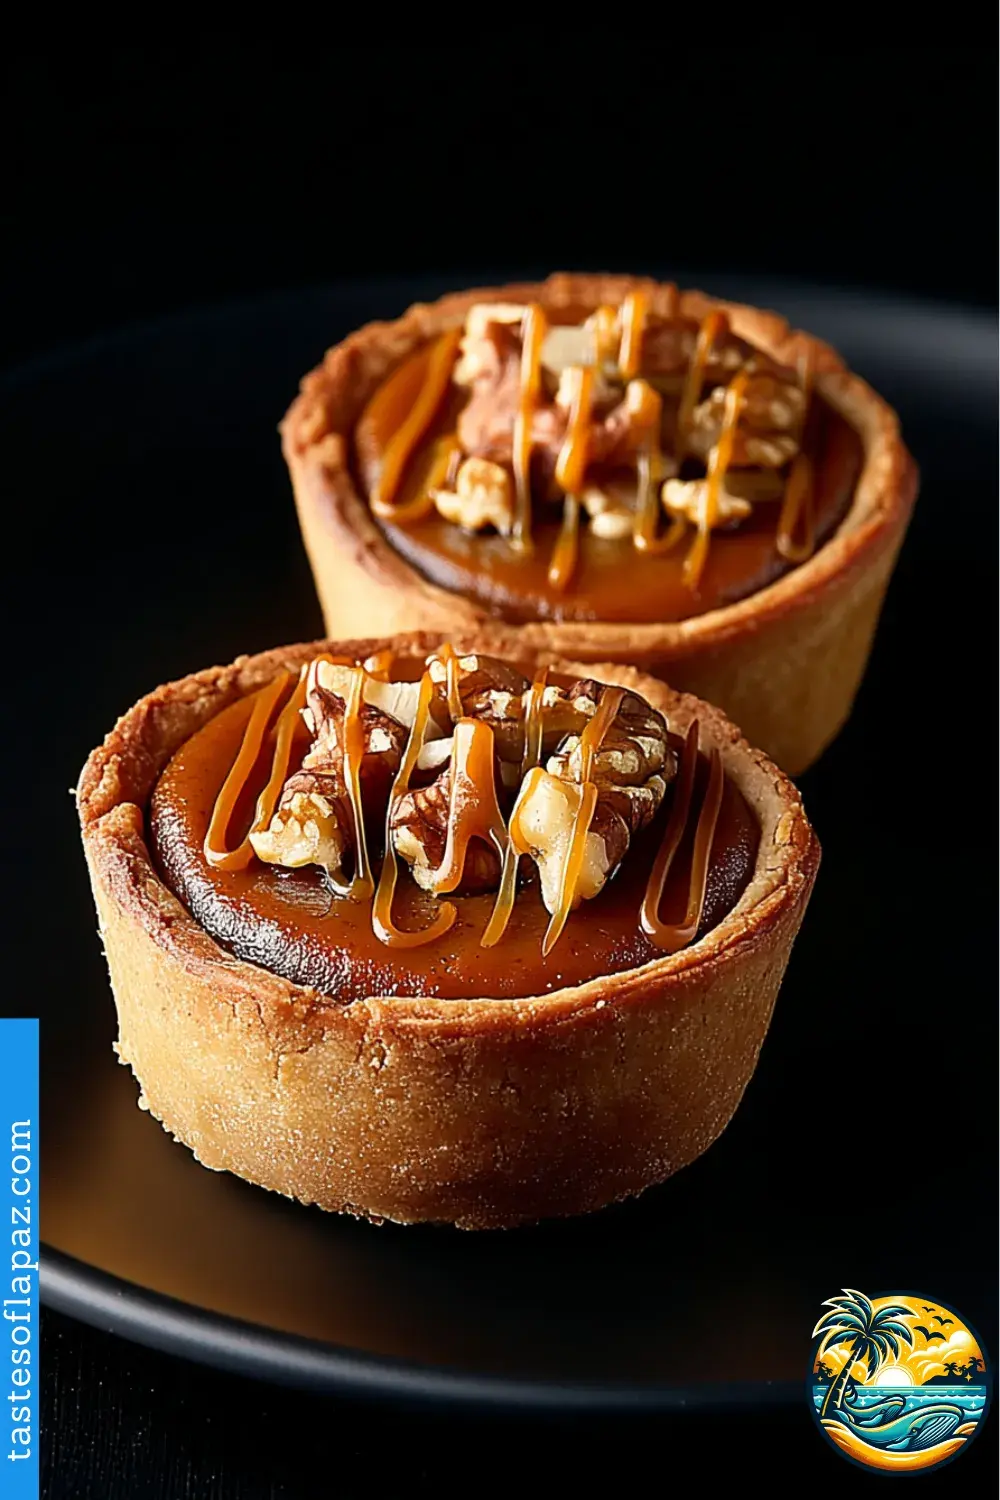
- And that’s it! Right before serving, top each mini pie with chopped walnuts and a drizzle of salted caramel. Not only do they look stunning, but you’ll also get that perfect combo of crunchy, creamy, sweet, and salty. Extra delicious!

Ingredient Substitutions
- Pumpkin puree: If you don’t have it on hand, you can use cooked and mashed sweet potato.
- Evaporated milk: Swap it out for heavy cream or whole milk.
- Brown sugar: You can also use coconut sugar or just add more granulated sugar.
- Walnuts: Switch them for pecans, almonds, or sunflower seeds.
- Salted caramel: No worries if you don’t have it—use thick honey or maple syrup instead.
Prep Tips
- Work the dough: Always take it out of the fridge about 10 minutes before using so it’s easier to handle.
- Boost the flavor: Toast the nuts before adding them for an extra layer of taste.
- Even portions: A small ice cream scoop works great to fill each pie evenly.
- Cooling time: Seriously, don’t skip letting the mini pies cool for at least 15 minutes before removing them.
- Final touch: Keep a little extra caramel on the side so everyone can drizzle more to their liking.
Common Mistakes (What NOT to Do)
- Don’t overfill: Remember, if you do, the filling will overflow while baking.
- Don’t crank up the heat: Baking hotter will only cause the filling to crack.
- Don’t unmold too soon: Always let them cool a bit or they’ll fall apart.
- Don’t use watery puree: If it’s too liquidy, the filling won’t set properly.
- Don’t add hot caramel: It’ll melt too much and run off.

Frequently Asked Questions
- Can I make these with homemade dough? Absolutely—use your favorite pie crust recipe.
- Can I prep them ahead of time? For sure. Make them a day before and keep them in the fridge.
- Can I use fresh pumpkin? Yes, just cook it and puree it.
- Do I need to grease a non-stick pan? It’s best to—just a bit of butter or spray helps with easy release.
- Can they be frozen? Yep, up to 2 months if wrapped well.
- No pumpkin spice? Just mix cinnamon, ginger, nutmeg, and clove.
- Can I make them without nuts? Totally—leave them out or swap for chocolate chips.
- Do silicone pans work? They’re great—the pies pop out easily without greasing.
- How long do they last at room temp? About 1 day max—after that, refrigerate them.
- Are they good for Thanksgiving? Oh, absolutely! They’re practical, pretty, and a total crowd-pleaser.
Storing & Reheating
- Refrigerate: Store them in an airtight container for up to 4 days, no problem.
- Reheat in the oven: Best option—about 300°F (150°C) for 8 minutes.
- Reheat in the microwave: Quick fix—about 15–20 seconds does the trick.
Serving Suggestions
- A cozy pumpkin spice latte—it’s the perfect pairing.
- A scoop of vanilla ice cream on the side is always a win.
- A warm chai tea—simple but so good.
- Fresh fruit like sliced pears or apples adds a light touch.
- How about some oatmeal cinnamon cookies to go with them?
Recipe Variations
- Chocolate lovers: Toss chocolate chips into the filling for extra sweetness and creaminess.
- With streusel: Make a crunchy topping with butter, flour, and brown sugar instead of nuts—super tasty!
- Graham cracker crust: Swap the pie dough for a graham cracker crust for a classic American vibe.
- With whipped cream: Top with whipped cream mixed with pumpkin spice instead of caramel.
- A
Nutritional Information (per serving)
- Calories: 210 kcal
- Protein: 3 g
- Healthy Fats: 9 g
- Carbohydrates: 30 g
- Natural Sugars: 15 g
- Fiber: 2 g
- Sodium: 125 mg

Tastes of La Paz.
Gourmet Mini Pumpkin Pies
Servings:12 mini pies
Prep Time: 20 minutes
Cook Time: 25 minutes
Total Time: 45 minutes
Ingredients
- 1 package of refrigerated pie dough (2 discs)
- 1 cup (240 ml) pumpkin puree
- 1/2 cup (120 ml) evaporated milk
- 1/4 cup (50 g) brown sugar
- 1/4 cup (50 g) granulated sugar
- 1 large egg
- 1 egg yolk
- 1 teaspoon pumpkin spice mix
- 1/2 teaspoon vanilla extract
- 1/4 cup (30 g) chopped walnuts
- 1/4 cup (60 ml) salted caramel
- Pinch of salt
Tools you’ll need
- Non-stick muffin pan
- Rolling pin
- Large mixing bowl
- Whisk
- Measuring spoons
- Knife or round cookie cutter
Instructions
- Let’s get started! Preheat your oven to 350°F (175°C). While it heats up, lightly grease your muffin pan with a little butter or, even better, non-stick spray. This will keep the dough from sticking and make it way easier to pop out your mini pies without breaking them.
- Now, place the pie dough on a floured surface and roll it out until it’s even and thin—but not too thin. Using a round cookie cutter or a wide glass, cut out 12 circles just slightly larger than each muffin cavity. Gently press each circle into the pan, making sure the dough fits snugly at the bottom and up the sides.
- In a large mixing bowl, combine the pumpkin puree, evaporated milk, brown sugar, granulated sugar, egg, yolk, pumpkin spice, vanilla, and a pinch of salt. Whisk it all together until the filling is creamy, smooth, and the spices are fully blended. You’ll notice the texture—it’s pretty easy to tell when it’s ready.
- Using a large spoon or a small ice cream scoop, fill each dough base with the pumpkin mixture, only up to about 3/4 full. Don’t overfill—trust me, the filling will puff up a bit in the oven and you don’t want it spilling over.
- Time to bake! Place the pan in the oven and bake for about 20–25 minutes, or until the center looks just set and the crust edges turn golden. Here’s a good trick: gently shake the pan—if the center jiggles slightly but doesn’t look runny, they’re done.
- Almost there! Take the pan out of the oven and let the mini pies rest for about 10 minutes before removing them. Don’t skip this step—it helps the filling finish setting so they don’t fall apart. Then, carefully use a small spatula or thin knife to loosen and lift them out.
- And that’s it! Right before serving, top each mini pie with chopped walnuts and a drizzle of salted caramel. Not only do they look stunning, but you’ll also get that perfect combo of crunchy, creamy, sweet, and salty. Extra delicious!
Nutritional Information (per serving)
- Calories: 210 kcal
- Protein: 3 g
- Healthy Fats: 9 g
- Carbohydrates: 30 g
- Natural Sugars: 15 g
- Fiber: 2 g
- Sodium: 125 mg

Tastes of La Paz.