Pumpkin-Shaped Cheesy Buns
Savor the World.
Pumpkin-Shaped Cheesy Buns
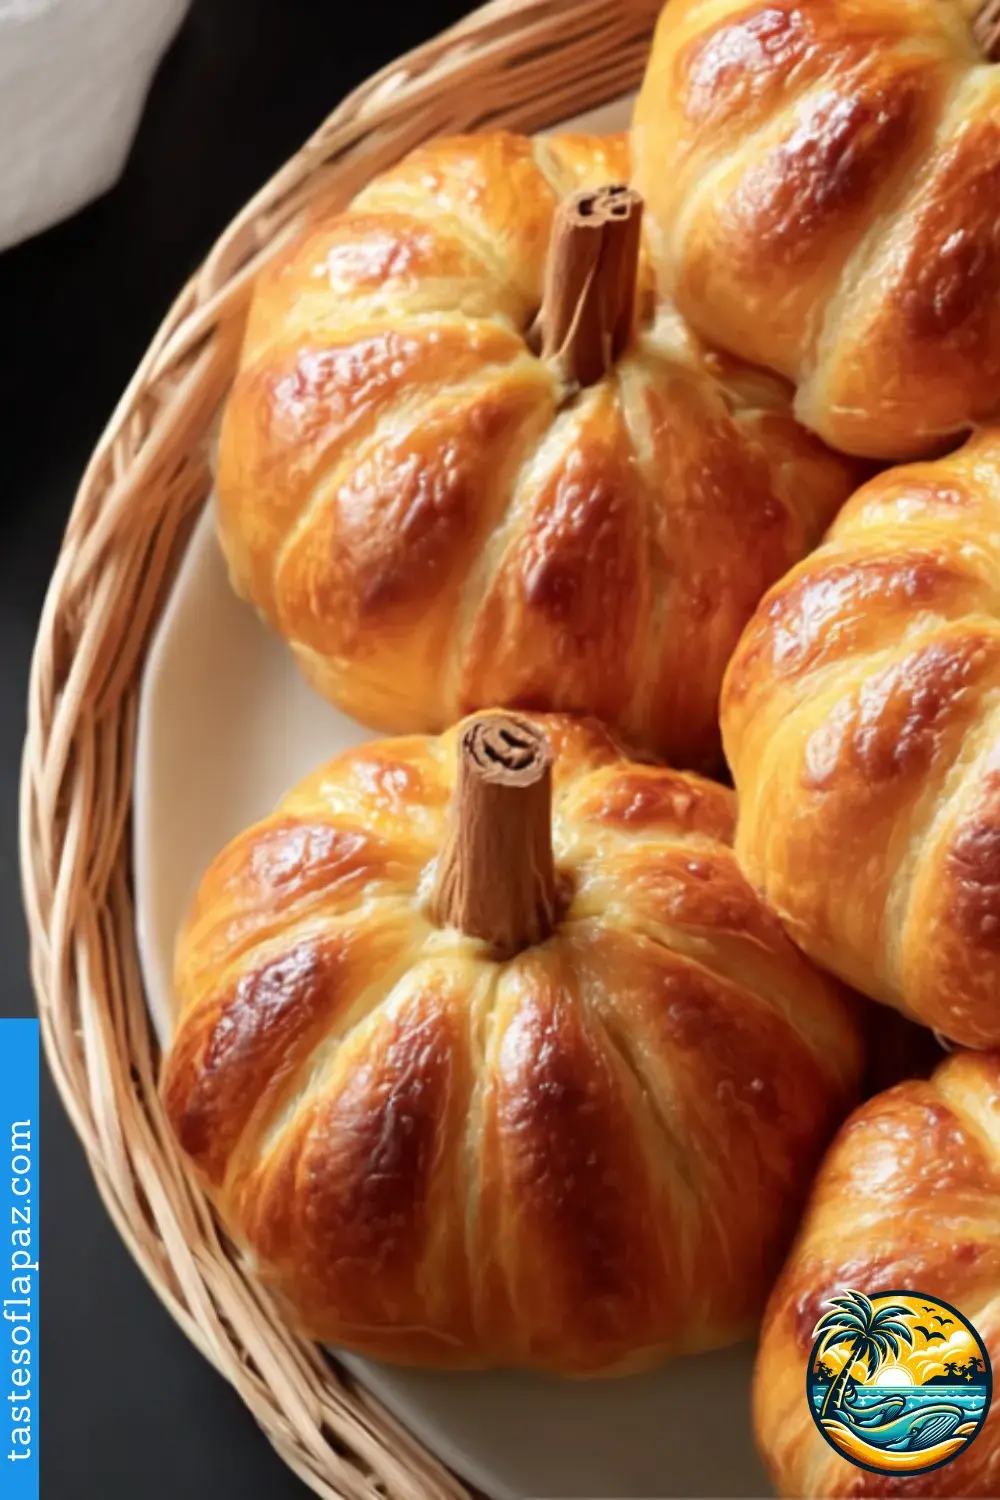
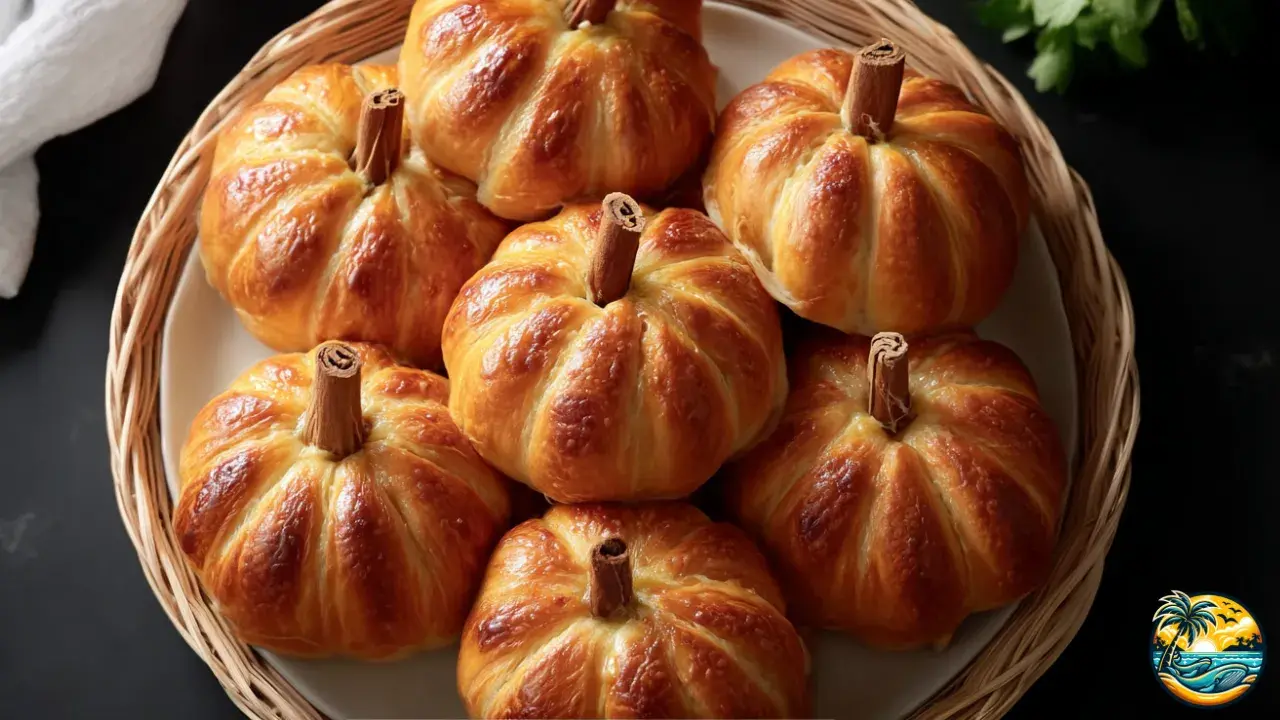
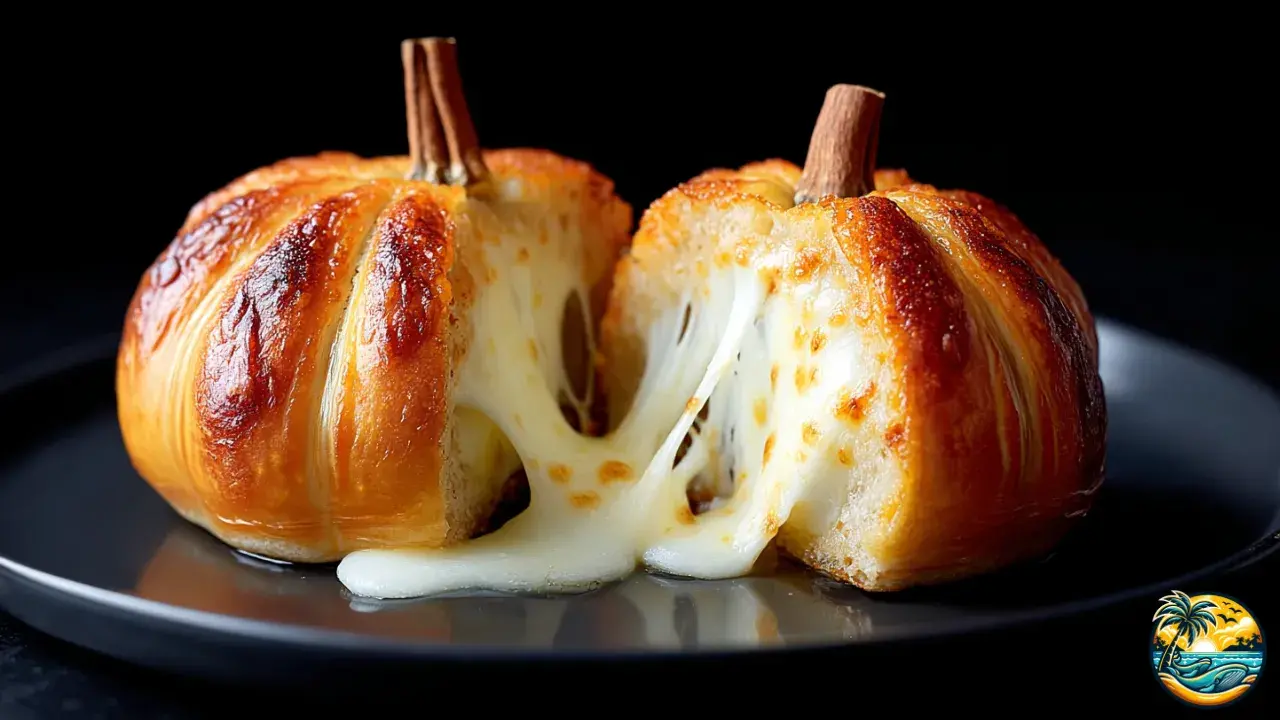
I love buns! All kinds—soft, warm, and absolutely delicious! And even more when they’re stuffed with cheddar and mozzarella cheese… oh man, what a combo! Now imagine surprising your family and friends with these soft, golden buns shaped like little pumpkins, filled with gooey cheese that stretches with every bite. Well, these Pumpkin-Shaped Cheesy Buns aren’t just tasty, they’re also fun to make and super photogenic—perfect for fall or Halloween. You’re gonna love them!
Pumpkin-Shaped Cheesy Buns
Servings:12 buns
Prep Time: 1 hour 30 minutes
Cook Time: 20 minutes
Total Time: 1 hour and 50 minutes
Ingredients
- 4 cups (480 g) all-purpose flour
- 1 packet (7 g) instant dry yeast
- 1/4 cup (50 g) sugar
- 1 teaspoon (5 g) salt
- 3/4 cup (180 ml) warm milk
- 1 large egg
- 1/4 cup (60 g) unsalted butter, melted
- 1 cup (120 g) shredded mozzarella or mild cheddar cheese
- 1 beaten egg (for egg wash)
- Cinnamon sticks or fresh parsley stems (for decoration)
- Optional: 1/4 cup (60 g) melted butter mixed with 1 garlic clove finely minced or 1 teaspoon (3 g) garlic powder, plus 1 teaspoon (2 g) finely chopped fresh rosemary
Needed Equipment
- Large mixing bowl
- Wooden spoon or stand mixer with dough hook
- Baking sheet
- Parchment paper or silicone baking mat
- Kitchen twine
- Pastry brush
See 5 variations of the recipe at the end.
You might also be interested in:
Did You Know?
Did you know the technique of tying bread with string to shape it isn’t just for pumpkin buns? It’s also used for Christmas breads shaped like stars! Some people even use clean silicone bands instead of string to speed things up, but the twine version is still the most traditional—and honestly, the most fun.

Instructions
- Let’s get started! In a large bowl, mix together the flour, yeast, sugar, and salt. Make sure the yeast is well blended with the flour so it activates properly—mix it really well.
- Now, add the warm milk, egg, and melted butter. Be sure the milk is warm, not hot, so it doesn’t kill the yeast. Mix everything with a wooden spoon or a dough hook attachment until you get a sticky but even dough. If you’re doing it by hand, just be patient—it’ll come together, I promise.
- Knead the dough for 8 to 10 minutes on a lightly floured surface or using the mixer with the dough hook. Here’s the trick: the dough should go from sticky to smooth and elastic. You’ll know it’s ready when you can stretch it without it tearing easily.
- Place the dough in a greased bowl (with a little oil or butter), cover with a clean towel, and let it rest in a warm spot for 1 hour or until it doubles in size. You’ll see it puff up into a soft, pillowy ball—that’s the yeast doing its magic. Don’t skip this rise, it’s what makes the buns light and fluffy.
- Time to shape the buns! Carefully divide the dough into 12 equal portions with a sharp knife or dough cutter. Gently flatten each piece with the palm of your hand to form a small circle.
- Cheese time! Place a little mozzarella or cheddar in the center of each circle. Fold the edges inward and pinch them together to seal tightly so the cheese doesn’t leak while baking. Roll gently in your hands to form a smooth ball.
- This step is key—it’s what gives them their pumpkin shape. Use kitchen twine to tie each ball gently into 6 to 8 sections, creating the look of pumpkin ridges. Make a small knot, but don’t tie too tight—you want to leave space so the dough can rise in the oven.
- Arrange the buns on a baking sheet lined with parchment paper, a silicone mat, or lightly greased. Let them rest another 15 minutes so they can puff up a bit more before baking.
- Brush the tops with beaten egg using a pastry brush. This will give them a golden, glossy finish. Bake at 350 °F (175 °C) for 18 to 20 minutes, or until the tops are beautifully golden and they sound hollow when tapped.
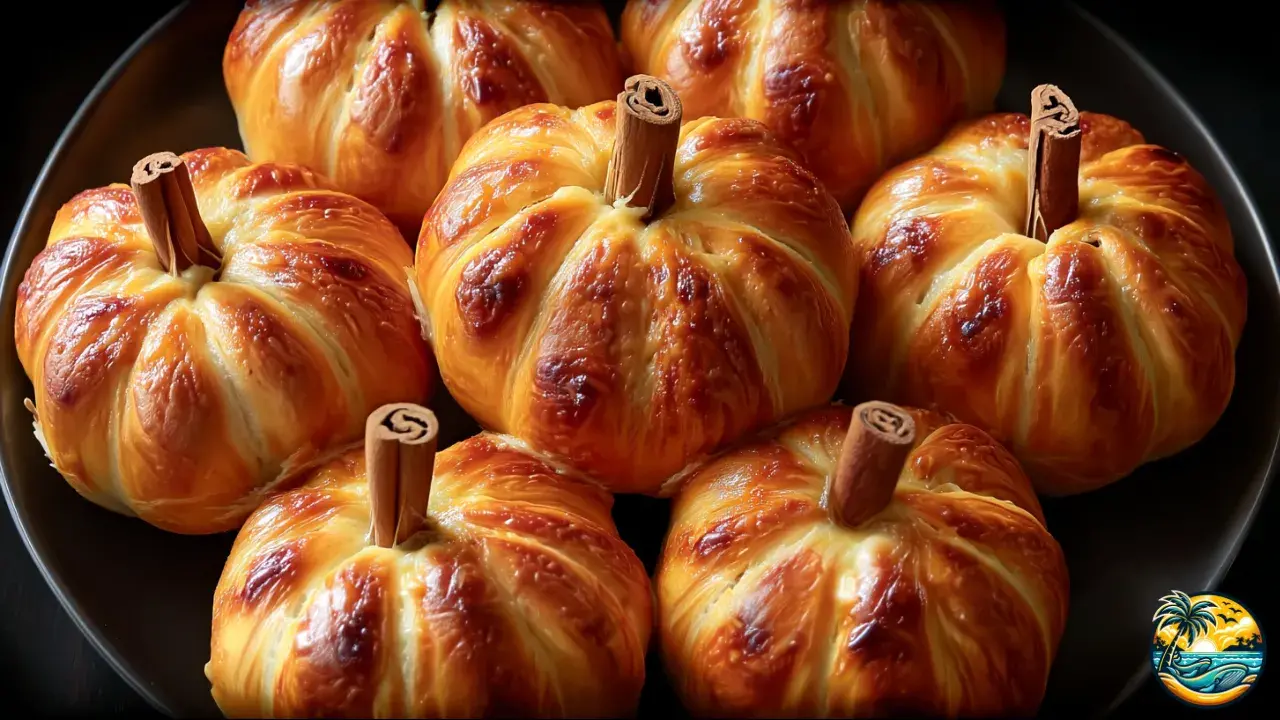
- Once baked, remove from the oven and let cool for a few minutes. Carefully cut and remove the kitchen twine to reveal the pumpkin shape—you’ll love how they turned out!
- For the final touch, insert a cinnamon stick or a fresh parsley stem in the center of each bun to mimic a pumpkin stem. Not only does it look adorable, it adds a nice aromatic touch too.
- Optional: While still warm, brush with melted butter mixed with garlic and rosemary. This will give them an irresistible aroma and a savory kick that balances the slight sweetness of the dough.

Ingredient Substitutions
- Flour: If you don’t have white flour, you can use whole wheat for a healthier version, though the buns will turn out a bit denser.
- Cheese: If you don’t have mozzarella or cheddar, try gouda or even cream cheese.
- Milk: You can swap it with unsweetened plant-based milk (almond, oat, or soy).
- Butter: If you’re out of butter, replace it with margarine or light olive oil.
- Sugar: Swap white sugar for honey or brown sugar for a deeper, richer sweetness.

Prep Tips
- Milk temperature: Always make sure it’s warm, not hot—if you pour it hot, you’ll kill the yeast and ruin the recipe.
- Kitchen twine: Use plain cotton twine without dyes, since colored ones can stain the dough.
- Spacing on the baking sheet: Leave enough room because they’ll rise in the oven—you don’t want them sticking together and losing their shape, trust me.
- Glossy finish: Brush them twice with beaten egg: once before baking and once as they come out of the oven.
- Extra flavor: You can also add a bit of garlic powder straight into the dough.
Common Mistakes (What NOT to Do)
- Milk too hot: I’ll say it again because it’s key—it can kill the yeast and the dough won’t rise.
- Skipping the rise: Don’t skip it, or your buns won’t turn out fluffy.
- Tying the twine too tight: Be careful—a tight string can cut into the dough and make the filling leak out.
- Overfilling with cheese: Too much cheese can ooze out during baking and ruin the pumpkin shape.
- Opening the oven too soon: Never do this! It can make the buns sink. Wait at least 15 minutes before peeking.

Frequently Asked Questions (FAQ)
- Can I make them without cheese filling? Yes, and they’ll be like little sweet rolls—perfect for spreading with jam.
- Can they be frozen? Absolutely—freeze them once baked and wrapped in plastic.
- Can I make the dough a day ahead? Sure, just keep it covered in the fridge overnight and bake the next day.
- What other cheese can I use? Cheddar, mozzarella, gouda, or cream cheese all work great.
- Do I need a stand mixer? Not really—but it helps! You can knead by hand, it just takes more time and patience.
- Do I remove the twine before or after baking? After, once they’ve cooled slightly.
- Can I make them bigger? Yes, just bake them a few minutes longer, about 5 extra minutes.
- Can I make them without eggs? Totally—swap the egg in the dough for 3 tablespoons of plain yogurt and brush with milk instead.
- Can I fill them with something else? Definitely—try chocolate, hazelnut spread, or sweet pumpkin purée.
- Are they sweet or savory? The dough is lightly sweet, but the cheese adds a savory kick—and if you brush with garlic butter, even more so.
Storing & Reheating
- Room temperature: Store your buns in an airtight container for up to 2 days.
- Refrigeration: If you want to keep them fresh longer, store them in the fridge for up to 5 days.
- Oven reheat: Warm them at 300 °F (150 °C) for 5 to 7 minutes to bring back their original texture.
- Microwave reheat: Not my favorite since it can affect the texture, but if you must, heat for 20 seconds covered with a damp paper towel so they don’t dry out.

Serving Suggestions
- Pair your buns with creamy tomato soup—perfect for dipping.
- A fresh salad with balsamic dressing is also a great option.
- Spinach and artichoke dip makes an amazing spread.
- For fall, how about a homemade Pumpkin Spice Latte?
- And for dessert, of course, a slice of pumpkin pie with whipped cream.
Recipe Variations
- Pizza style: Oh yeah! Fill them with pepperoni and cheese for a fun, pizza-inspired twist.
- Whole wheat version: Use whole wheat flour for a heartier bun with extra fiber.
- Spicy kick: If you’re into heat, toss in some chopped jalapeños with the filling.
- Sweet version: For Halloween, try filling them with chocolate, pumpkin cream, or hazelnut spread—super irresistible.
- Fall vibes: Add spices like cinnamon and nutmeg to the dough for a warm, seasonal flavor.

Nutritional Information (per serving)
- Energy: 220 kcal
- Protein: 7 g
- Healthy fats: 9 g
- Carbohydrates: 27 g
- Natural sugars: 4 g
- Fiber: 1 g
- Sodium: 250 mg
Well, we’ve made these delicious pumpkin-shaped buns—easy, right? You’ll see how they’ll be the star of the season this fall and Halloween. And as you’ve noticed, they’re actually super simple to make, so… happy cooking! 🎃✨
Tastes of La Paz.
Pumpkin-Shaped Cheesy Buns
Servings:12 buns
Prep Time: 1 hour 30 minutes
Cook Time: 20 minutes
Total Time: 1 hour and 50 minutes
Ingredients
- 4 cups (480 g) all-purpose flour
- 1 packet (7 g) instant dry yeast
- 1/4 cup (50 g) sugar
- 1 teaspoon (5 g) salt
- 3/4 cup (180 ml) warm milk
- 1 large egg
- 1/4 cup (60 g) unsalted butter, melted
- 1 cup (120 g) shredded mozzarella or mild cheddar cheese
- 1 beaten egg (for egg wash)
- Cinnamon sticks or fresh parsley stems (for decoration)
- Optional: 1/4 cup (60 g) melted butter mixed with 1 garlic clove finely minced or 1 teaspoon (3 g) garlic powder, plus 1 teaspoon (2 g) finely chopped fresh rosemary
Needed Equipment
- Large mixing bowl
- Wooden spoon or stand mixer with dough hook
- Baking sheet
- Parchment paper or silicone baking mat
- Kitchen twine
- Pastry brush
Instructions
- Let’s get started! In a large bowl, mix together the flour, yeast, sugar, and salt. Make sure the yeast is well blended with the flour so it activates properly—mix it really well.
- Now, add the warm milk, egg, and melted butter. Be sure the milk is warm, not hot, so it doesn’t kill the yeast. Mix everything with a wooden spoon or a dough hook attachment until you get a sticky but even dough. If you’re doing it by hand, just be patient—it’ll come together, I promise.
- Knead the dough for 8 to 10 minutes on a lightly floured surface or using the mixer with the dough hook. Here’s the trick: the dough should go from sticky to smooth and elastic. You’ll know it’s ready when you can stretch it without it tearing easily.
- Place the dough in a greased bowl (with a little oil or butter), cover with a clean towel, and let it rest in a warm spot for 1 hour or until it doubles in size. You’ll see it puff up into a soft, pillowy ball—that’s the yeast doing its magic. Don’t skip this rise, it’s what makes the buns light and fluffy.
- Time to shape the buns! Carefully divide the dough into 12 equal portions with a sharp knife or dough cutter. Gently flatten each piece with the palm of your hand to form a small circle.
- Cheese time! Place a little mozzarella or cheddar in the center of each circle. Fold the edges inward and pinch them together to seal tightly so the cheese doesn’t leak while baking. Roll gently in your hands to form a smooth ball.
- This step is key—it’s what gives them their pumpkin shape. Use kitchen twine to tie each ball gently into 6 to 8 sections, creating the look of pumpkin ridges. Make a small knot, but don’t tie too tight—you want to leave space so the dough can rise in the oven.
- Arrange the buns on a baking sheet lined with parchment paper, a silicone mat, or lightly greased. Let them rest another 15 minutes so they can puff up a bit more before baking.
- Brush the tops with beaten egg using a pastry brush. This will give them a golden, glossy finish. Bake at 350 °F (175 °C) for 18 to 20 minutes, or until the tops are beautifully golden and they sound hollow when tapped.
- Once baked, remove from the oven and let cool for a few minutes. Carefully cut and remove the kitchen twine to reveal the pumpkin shape—you’ll love how they turned out!
- For the final touch, insert a cinnamon stick or a fresh parsley stem in the center of each bun to mimic a pumpkin stem. Not only does it look adorable, it adds a nice aromatic touch too.
- Optional: While still warm, brush with melted butter mixed with garlic and rosemary. This will give them an irresistible aroma and a savory kick that balances the slight sweetness of the dough.
Nutritional Information (per serving)
- Energy: 220 kcal
- Protein: 7 g
- Healthy fats: 9 g
- Carbohydrates: 27 g
- Natural sugars: 4 g
- Fiber: 1 g
- Sodium: 250 mg

Tastes of La Paz.