Red Velvet Cupcakes
Savor the World.
Red Velvet Cupcakes
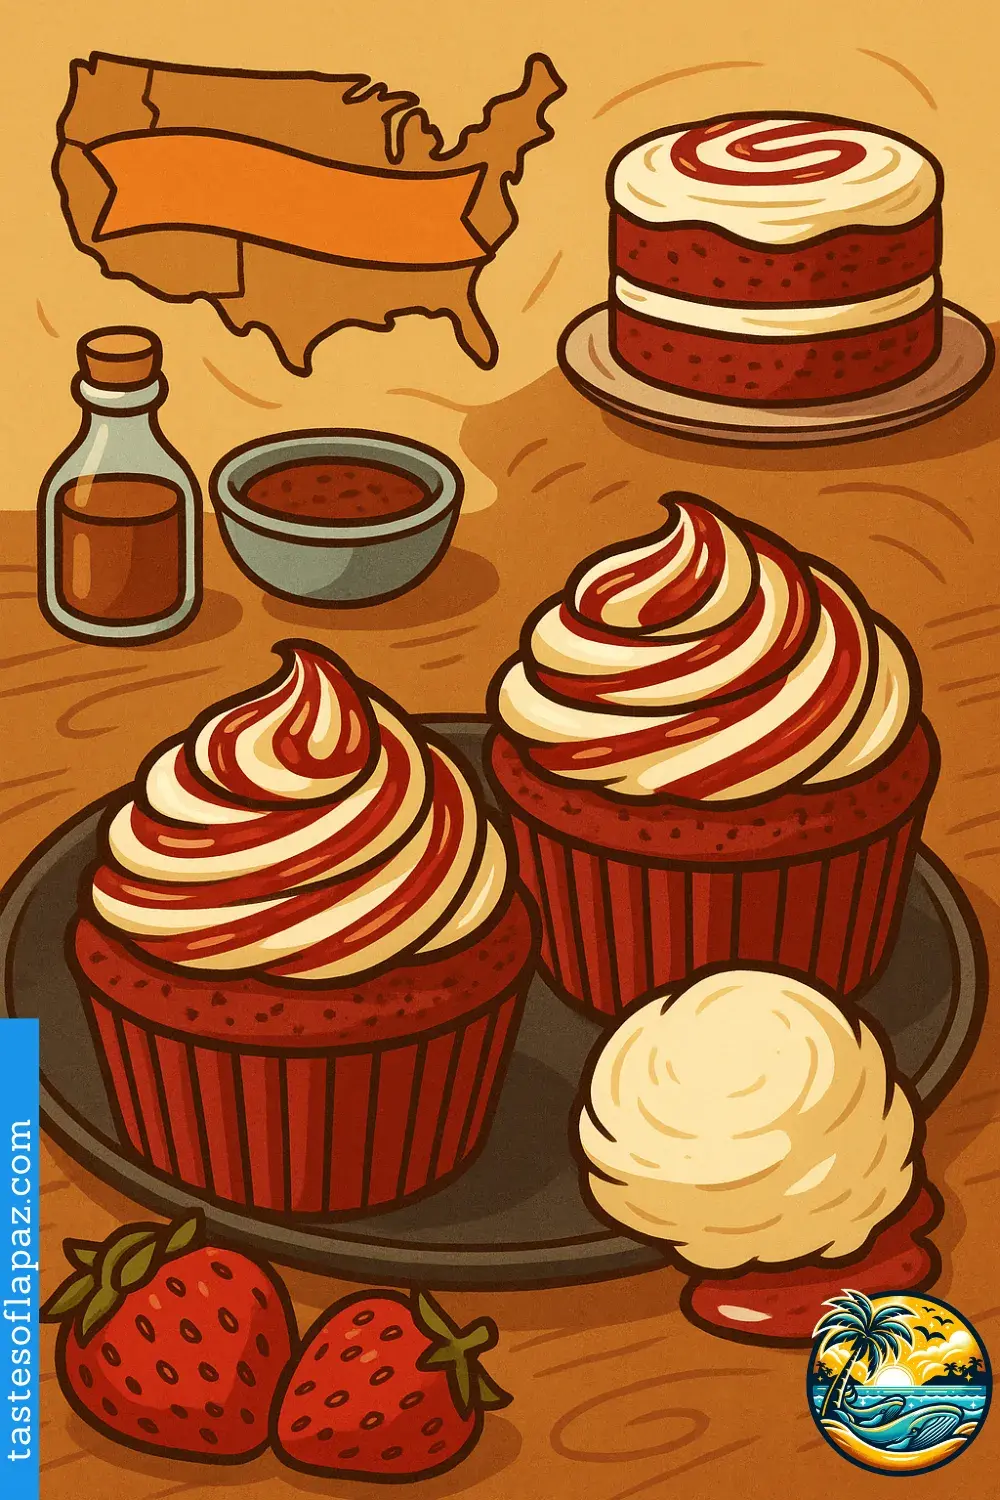
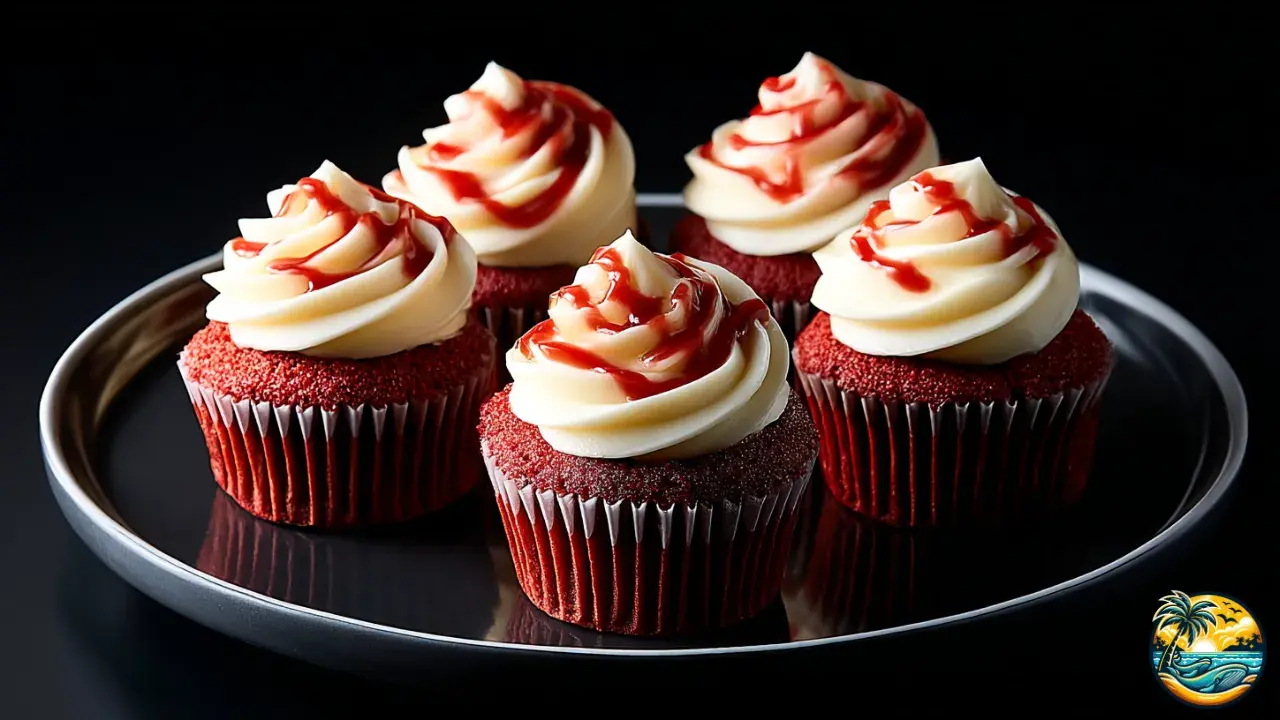
Who doesn’t love soft, moist, and delicious cupcakes? These Red Velvet Cupcakes bring together a vibrant color, a fluffy texture, and an irresistibly creamy frosting—plus a touch of raspberry on top that makes them even more special. You’re going to love them for both their flavor and looks—they’re beautiful and eye-catching! Perfect for celebrating, treating yourself, or simply sharing something sweet and homemade with your loved ones on any occasion.

Red Velvet Cupcakes
Servings:12 cupcakes
Prep Time: 20 minutes
Cook Time: 20 minutes
Total Time: 40 minutes
Ingredients:
- 1 ¼ cups all-purpose flour (150 g)
- 1 tablespoon unsweetened cocoa powder (7 g)
- ½ teaspoon baking soda (2.5 g)
- ½ teaspoon salt (2.5 g)
- ½ cup unsalted butter, softened (113 g)
- ¾ cup granulated sugar (150 g)
- 1 large egg
- 1 teaspoon vanilla extract (5 ml)
- ½ cup buttermilk (120 ml) or milk mixed with 1 teaspoon white vinegar
- 1 teaspoon white vinegar (5 ml)
- 1 teaspoon red gel food coloring (5 ml)
For the cream cheese frosting:
- 8 oz cream cheese (225 g), at room temperature
- ½ cup unsalted butter (113 g), at room temperature
- 2 cups powdered sugar (240 g)
- 1 teaspoon vanilla extract (5 ml)
For the raspberry sauce:
- ½ cup fresh or frozen raspberries (65 g)
- 2 tablespoons sugar (25 g)
- 1 teaspoon cornstarch dissolved in 1 tablespoon of water (optional, for thickening)
What you'll need:
- 12-cup cupcake/muffin pan
- Paper liners
- Electric mixer
- Silicone spatula
- Piping bag with star tip
- Fine mesh strainer (for the sauce)
See 5 variations of the recipe at the end.

You might also be interested in:
Did You Know?
At some Southern weddings in the U.S., Red Velvet Cake is practically a tradition! Its deep red color is said to symbolize passionate love—making it perfect not just for Valentine’s Day, but for any romantic celebration.

Instructions:
- Preheat the oven: Let’s get started! Set your oven to 350°F (175°C). Then place cupcake liners into a 12-cup muffin pan. This keeps the cupcakes from sticking, gives a cleaner look, and trust me—makes cleanup so much easier.
- Mix the dry ingredients: In a medium bowl, combine the flour, cocoa powder, baking soda, and salt. Whisk them well and set the bowl aside for later.
- Cream the butter and sugar: In a large bowl, beat the butter and sugar together for 3 to 5 minutes until light and fluffy. Add in the egg and vanilla and continue mixing until fully combined.
- Add the color and vinegar: Time to bring in the color! Mix in the red gel food coloring and the white vinegar. Beat until the batter has a uniform and vibrant red tone. This step also helps create a softer, fluffier texture.
- Combine the dry mix and buttermilk: Now it's time to bring it all together. Alternate adding the dry mix and buttermilk in parts—starting and ending with the dry mix. Stir only until just combined; overmixing can make your cupcakes dense or heavy.
- Fill the liners: Fill each cupcake liner about 2/3 full. Don’t overfill to avoid overflow. Bake for 18 to 20 minutes, or until a toothpick inserted into the center comes out clean or with just a few moist crumbs.
- Let them cool: Almost there! Let the cupcakes rest in the pan for about 5 minutes, then transfer them to a wire rack to cool completely before frosting.
- Make the frosting: Time for the good stuff! Beat the cream cheese and butter together until smooth. Add the powdered sugar and vanilla, and beat until the frosting is fluffy, smooth, and holds its shape. You’ll know when it’s ready!
- Prepare the raspberry sauce: In a small saucepan over medium heat, cook the raspberries with the sugar, gently mashing them. Add the dissolved cornstarch if you want it thicker. Strain to remove seeds and let the sauce cool.
- Decorate your cupcakes: That’s it! Fill a piping bag fitted with a star tip with the frosting and swirl it onto each cupcake from the center outward. Drizzle the raspberry sauce in a spiral pattern on top. Enjoy your beautiful and delicious treat!


Ingredient Substitutions
- Homemade buttermilk: If you don’t have buttermilk on hand, just mix ½ cup of milk with 1 teaspoon of white vinegar and let it sit for 5 minutes.
- Butter alternative: You can also use vegetable oil in the same amount for a softer and moister cupcake.
- Cream cheese substitute: Try using mascarpone or a mix of thick Greek yogurt and a bit of melted butter.

Prep Tips
- Room temperature ingredients: Always make sure your butter, egg, cream cheese, and buttermilk are at room temperature so everything blends smoothly.
- Brighter color: Using gel food coloring instead of liquid gives you a bold red without messing up the texture of your batter.
- Don’t overmix: This is key—once you add the dry ingredients, mix just until the lumps are gone. Overmixing can leave you with tough, dense cupcakes, and nobody wants that.

Nutritional Information (per cupcake):
- Calories: 310 kcal
- Protein: 3 g
- Healthy fats: 14 g
- Carbohydrates: 42 g
- Natural sugars: 26 g
- Fiber: 1 g
- Sodium: 170 mg

Nutritional Benefits:
These cupcakes are a tasty mix of energy and comfort. The cocoa provides natural antioxidants, and the butter and cream cheese deliver healthy fats that help your body absorb fat-soluble vitamins. And even though the raspberry sauce is just a small touch, it adds vitamin C and more antioxidants. A wonderful choice for special moments, these cupcakes strike the perfect balance between indulgence and homemade goodness.

Storing & Reheating
- Without frosting: Store the unfrosted cupcakes in an airtight container at room temperature for up to 2 days—no problem at all.
- With frosting: If they’re already decorated, refrigerate them for up to 4 days and take them out 15–20 minutes before serving.
- Reheating: Only reheat cupcakes that haven’t been frosted. A quick 10 seconds in the microwave is all they need. I don’t recommend reheating frosted ones.

Story or Inspiration
Red Velvet has roots in the American South, and its popularity soared in the 1950s. Originally, the red color came from a reaction between vinegar and natural cocoa, but today we enhance that rich color with food coloring. These modern cupcakes are a tribute to the classic cake—with a more fun, shareable twist that’s perfect for any occasion.
Serving Suggestions
- A cup of Americano with foamed milk is always a great match for your Red Velvet Cupcakes.
- A glass of cold almond milk if you want something lighter—it works surprisingly well.
- Pair them with fresh fruit like strawberries or raspberries to balance the sweetness.
- Vanilla ice cream makes a dreamy, indulgent side treat.
- A cold chocolate milkshake for a rich, over-the-top dessert combo. Perfect for sweet tooth days!

Frequently Asked Questions (FAQ)
- Can I make them without food coloring? Absolutely! They just won’t have the signature red color—but they’ll still taste amazing.
- What if I use self-rising flour? It’s best not to—it throws off the balance of the recipe. Stick with all-purpose flour for the best results.
- Can I make this recipe vegan? Yes, totally! Just swap in plant-based milk with vinegar, vegan butter, and dairy-free cream cheese.
- How do I make the frosting firm? Easy! Just make sure to use enough powdered sugar and beat it until you get a nice, thick texture.
- Can I switch out the raspberry sauce? Definitely—strawberries, blueberries, or even cherry sauce are all great options. Just go with the flavor you love most!


Recipe Variations
- With chocolate chips: Oh yes—just fold some semi-sweet chocolate chips into the batter for an extra burst of flavor and texture.
- Different frosting: Try vanilla or butter frosting if cream cheese isn’t your thing—you’ll still love the combo.
- Mini version: These are adorable—make them into mini cupcakes for parties, smaller bites, or sharing.
- With a surprise filling: So fun! Add whipped cream or chocolate ganache in the center for an extra wow factor.
- Different toppings: Switch out the raspberry drizzle for salted caramel, passionfruit coulis, or even strawberry jam for something new.

And that’s it! I hope this Red Velvet Cupcake recipe has inspired you to fire up the oven and treat yourself to something truly special. Whether you’re making them for a celebration, to share with someone you love, or just to spoil yourself a little, I’m sure you’ll enjoy every bite—and love how beautiful they turn out too. Happy baking!

Tastes of La Paz.
Red Velvet Cupcakes
Servings:12 cupcakes
Prep Time: 20 minutes
Cook Time: 20 minutes
Total Time: 40 minutes
Ingredients:
- 1 ¼ cups all-purpose flour (150 g)
- 1 tablespoon unsweetened cocoa powder (7 g)
- ½ teaspoon baking soda (2.5 g)
- ½ teaspoon salt (2.5 g)
- ½ cup unsalted butter, softened (113 g)
- ¾ cup granulated sugar (150 g)
- 1 large egg
- 1 teaspoon vanilla extract (5 ml)
- ½ cup buttermilk (120 ml) or milk mixed with 1 teaspoon white vinegar
- 1 teaspoon white vinegar (5 ml)
- 1 teaspoon red gel food coloring (5 ml)
For the cream cheese frosting:
- 8 oz cream cheese (225 g), at room temperature
- ½ cup unsalted butter (113 g), at room temperature
- 2 cups powdered sugar (240 g)
- 1 teaspoon vanilla extract (5 ml)
For the raspberry sauce:
- ½ cup fresh or frozen raspberries (65 g)
- 2 tablespoons sugar (25 g)
- 1 teaspoon cornstarch dissolved in 1 tablespoon of water (optional, for thickening)
What you'll need:
- 12-cup cupcake/muffin pan
- Paper liners
- Electric mixer
- Silicone spatula
- Piping bag with star tip
- Fine mesh strainer (for the sauce)
Instructions:
- Preheat the oven: Let’s get started! Set your oven to 350°F (175°C). Then place cupcake liners into a 12-cup muffin pan. This keeps the cupcakes from sticking, gives a cleaner look, and trust me—makes cleanup so much easier.
- Mix the dry ingredients: In a medium bowl, combine the flour, cocoa powder, baking soda, and salt. Whisk them well and set the bowl aside for later.
- Cream the butter and sugar: In a large bowl, beat the butter and sugar together for 3 to 5 minutes until light and fluffy. Add in the egg and vanilla and continue mixing until fully combined.
- Add the color and vinegar: Time to bring in the color! Mix in the red gel food coloring and the white vinegar. Beat until the batter has a uniform and vibrant red tone. This step also helps create a softer, fluffier texture.
- Combine the dry mix and buttermilk: Now it's time to bring it all together. Alternate adding the dry mix and buttermilk in parts—starting and ending with the dry mix. Stir only until just combined; overmixing can make your cupcakes dense or heavy.
- Fill the liners: Fill each cupcake liner about 2/3 full. Don’t overfill to avoid overflow. Bake for 18 to 20 minutes, or until a toothpick inserted into the center comes out clean or with just a few moist crumbs.
- Let them cool: Almost there! Let the cupcakes rest in the pan for about 5 minutes, then transfer them to a wire rack to cool completely before frosting.
- Make the frosting: Time for the good stuff! Beat the cream cheese and butter together until smooth. Add the powdered sugar and vanilla, and beat until the frosting is fluffy, smooth, and holds its shape. You’ll know when it’s ready!
- Prepare the raspberry sauce: In a small saucepan over medium heat, cook the raspberries with the sugar, gently mashing them. Add the dissolved cornstarch if you want it thicker. Strain to remove seeds and let the sauce cool.
- Decorate your cupcakes: That’s it! Fill a piping bag fitted with a star tip with the frosting and swirl it onto each cupcake from the center outward. Drizzle the raspberry sauce in a spiral pattern on top. Enjoy your beautiful and delicious treat!
Nutritional Information (per cupcake):
- Calories: 310 kcal
- Protein: 3 g
- Healthy fats: 14 g
- Carbohydrates: 42 g
- Natural sugars: 26 g
- Fiber: 1 g
- Sodium: 170 mg

Tastes of La Paz.